sweathog wrote:looking good Alan. let me know if you need any help this week. I have some time off too.
Coolio. Are you good at electrical? :-)
sweathog wrote:looking good Alan. let me know if you need any help this week. I have some time off too.
Symon623 wrote:Quite the undertaking for quite the experience/memory...... Crazy Alan..... thats what you are......
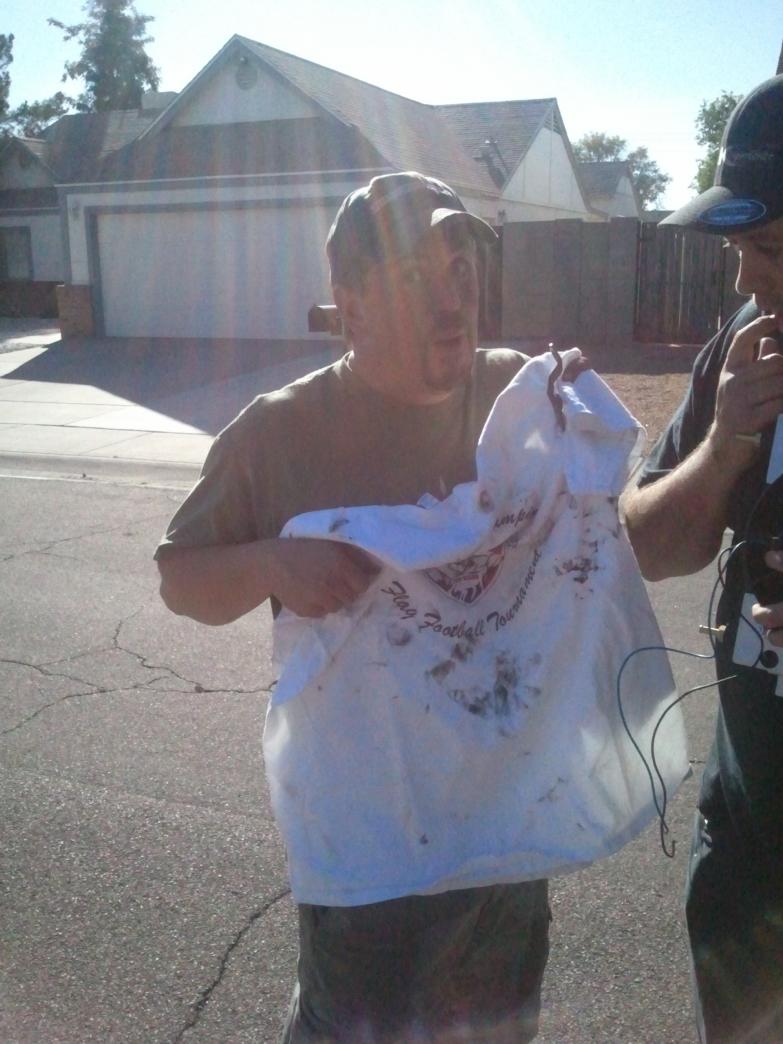
defibvt wrote:http://www.higherground4x4.com/forums/attachment.php?attachmentid=4269&d=1325278162
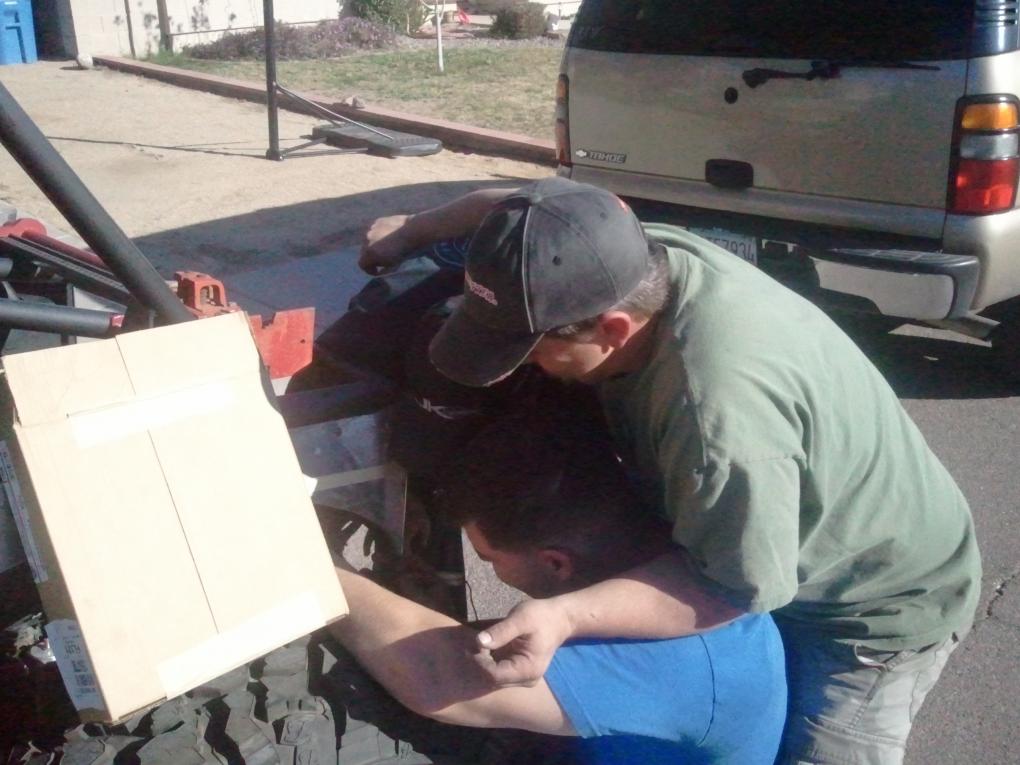
Is this Geoff lovin'?


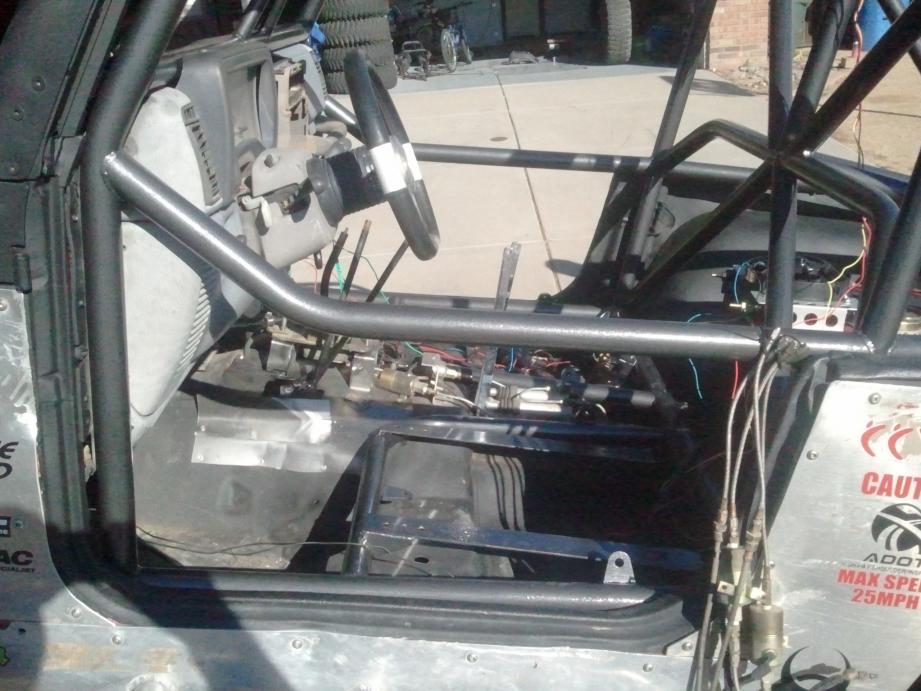
sweathog wrote:for my reference:
wire horn - need to find suitable mounting location
reconnect rock lights -
wire kill switch - use clamp style post end ran through hole on pass side firewall to switch leaving winches and starter by-passing switch. run cable with eyelets on both ends from switch through same firewall hole back to PDC.
clean-up wiring with zip ties and wire loom where possible -
label wires for pit crew -
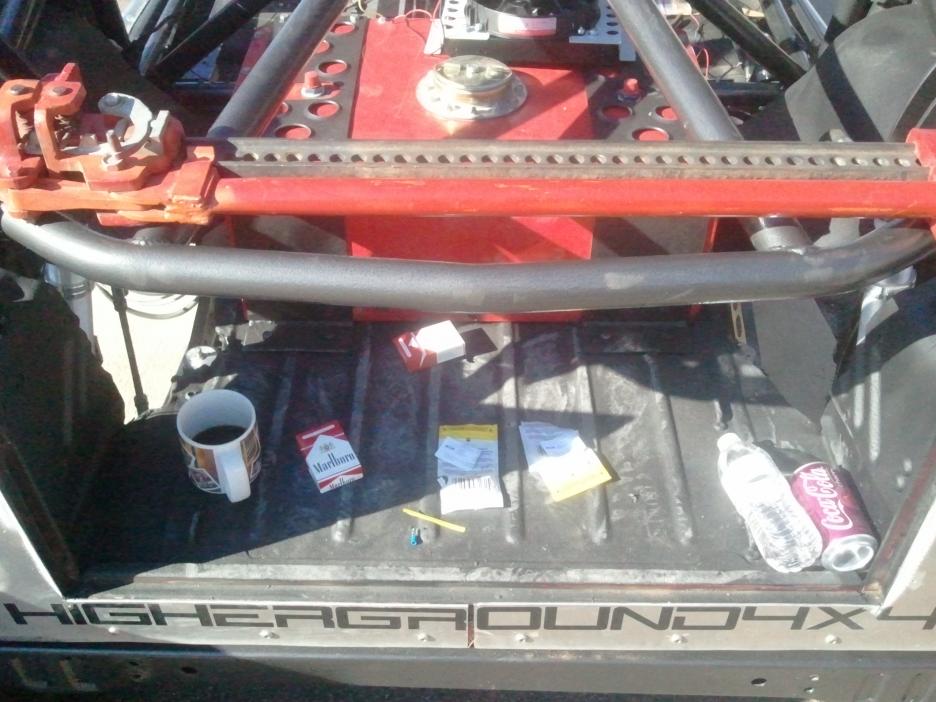
Avis wrote:LOTS of progress, and it looks fantastic! Don't forget to get me those dimensions on the tool storage crate