|

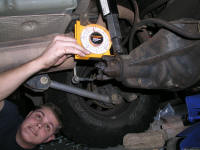
Okay now
after you have taken it down, put it back up, taken it back down, etc... and
finally figured out where you want the mounting studs to be, go ahead and put
them in. We had trouble getting them far enough in but were able to do
it with a little help from a nut and then a lot of help from some vice grips.
Make sure to add some Lok-Tite on the threads (we used Blue).
Do yourself a
favor and fill the Atlas before you get it up there. Ours came with 2
quarts of MTF and that filled it up to about halfway up the check hose.
Install the check hose (with tape on the threads) at the bottom first, fill the
Atlas through the top hole, and then seal it up with the top hose connection.
Because we already had it up there, we filled it by taking the nozzle top off of
a gear oil bottle and screwing it on to the MTF top. Then we just squeezed
all the life out of it straight into the Atlas.
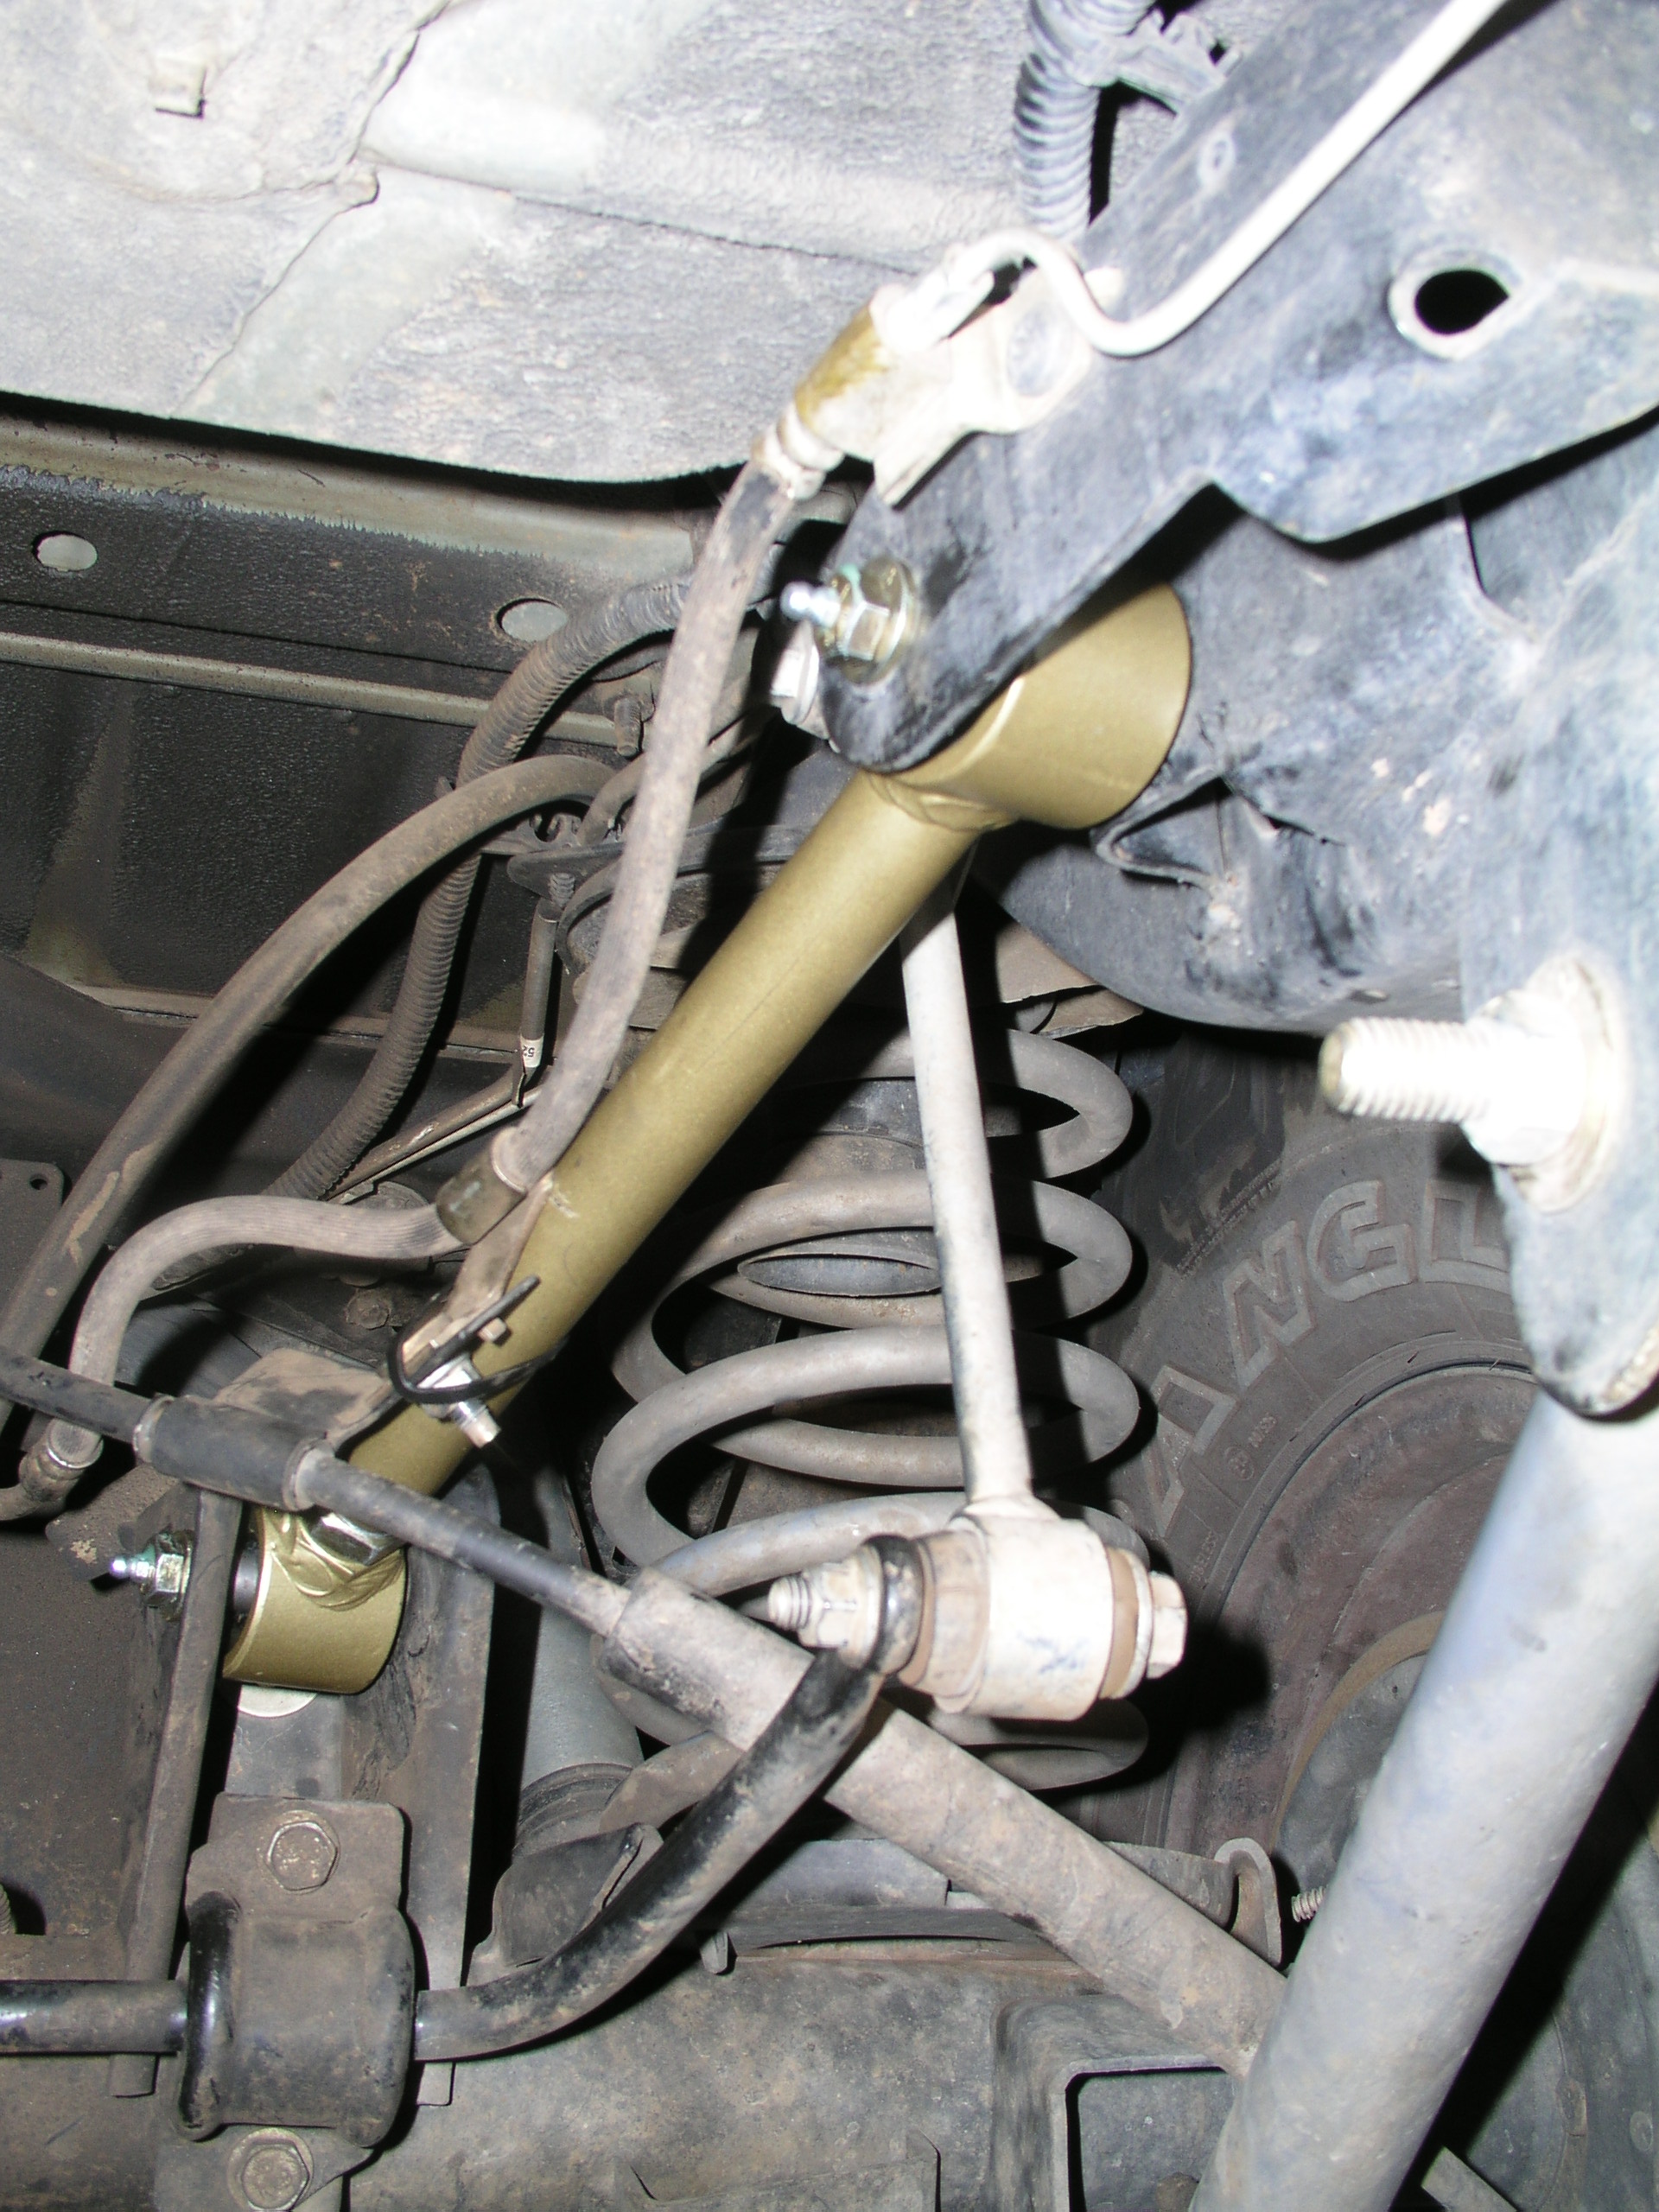
Get that sucker
up there and tighten the nuts on the studs. Connect the speedometer and
4x4 switch wires and the breather hose on top.
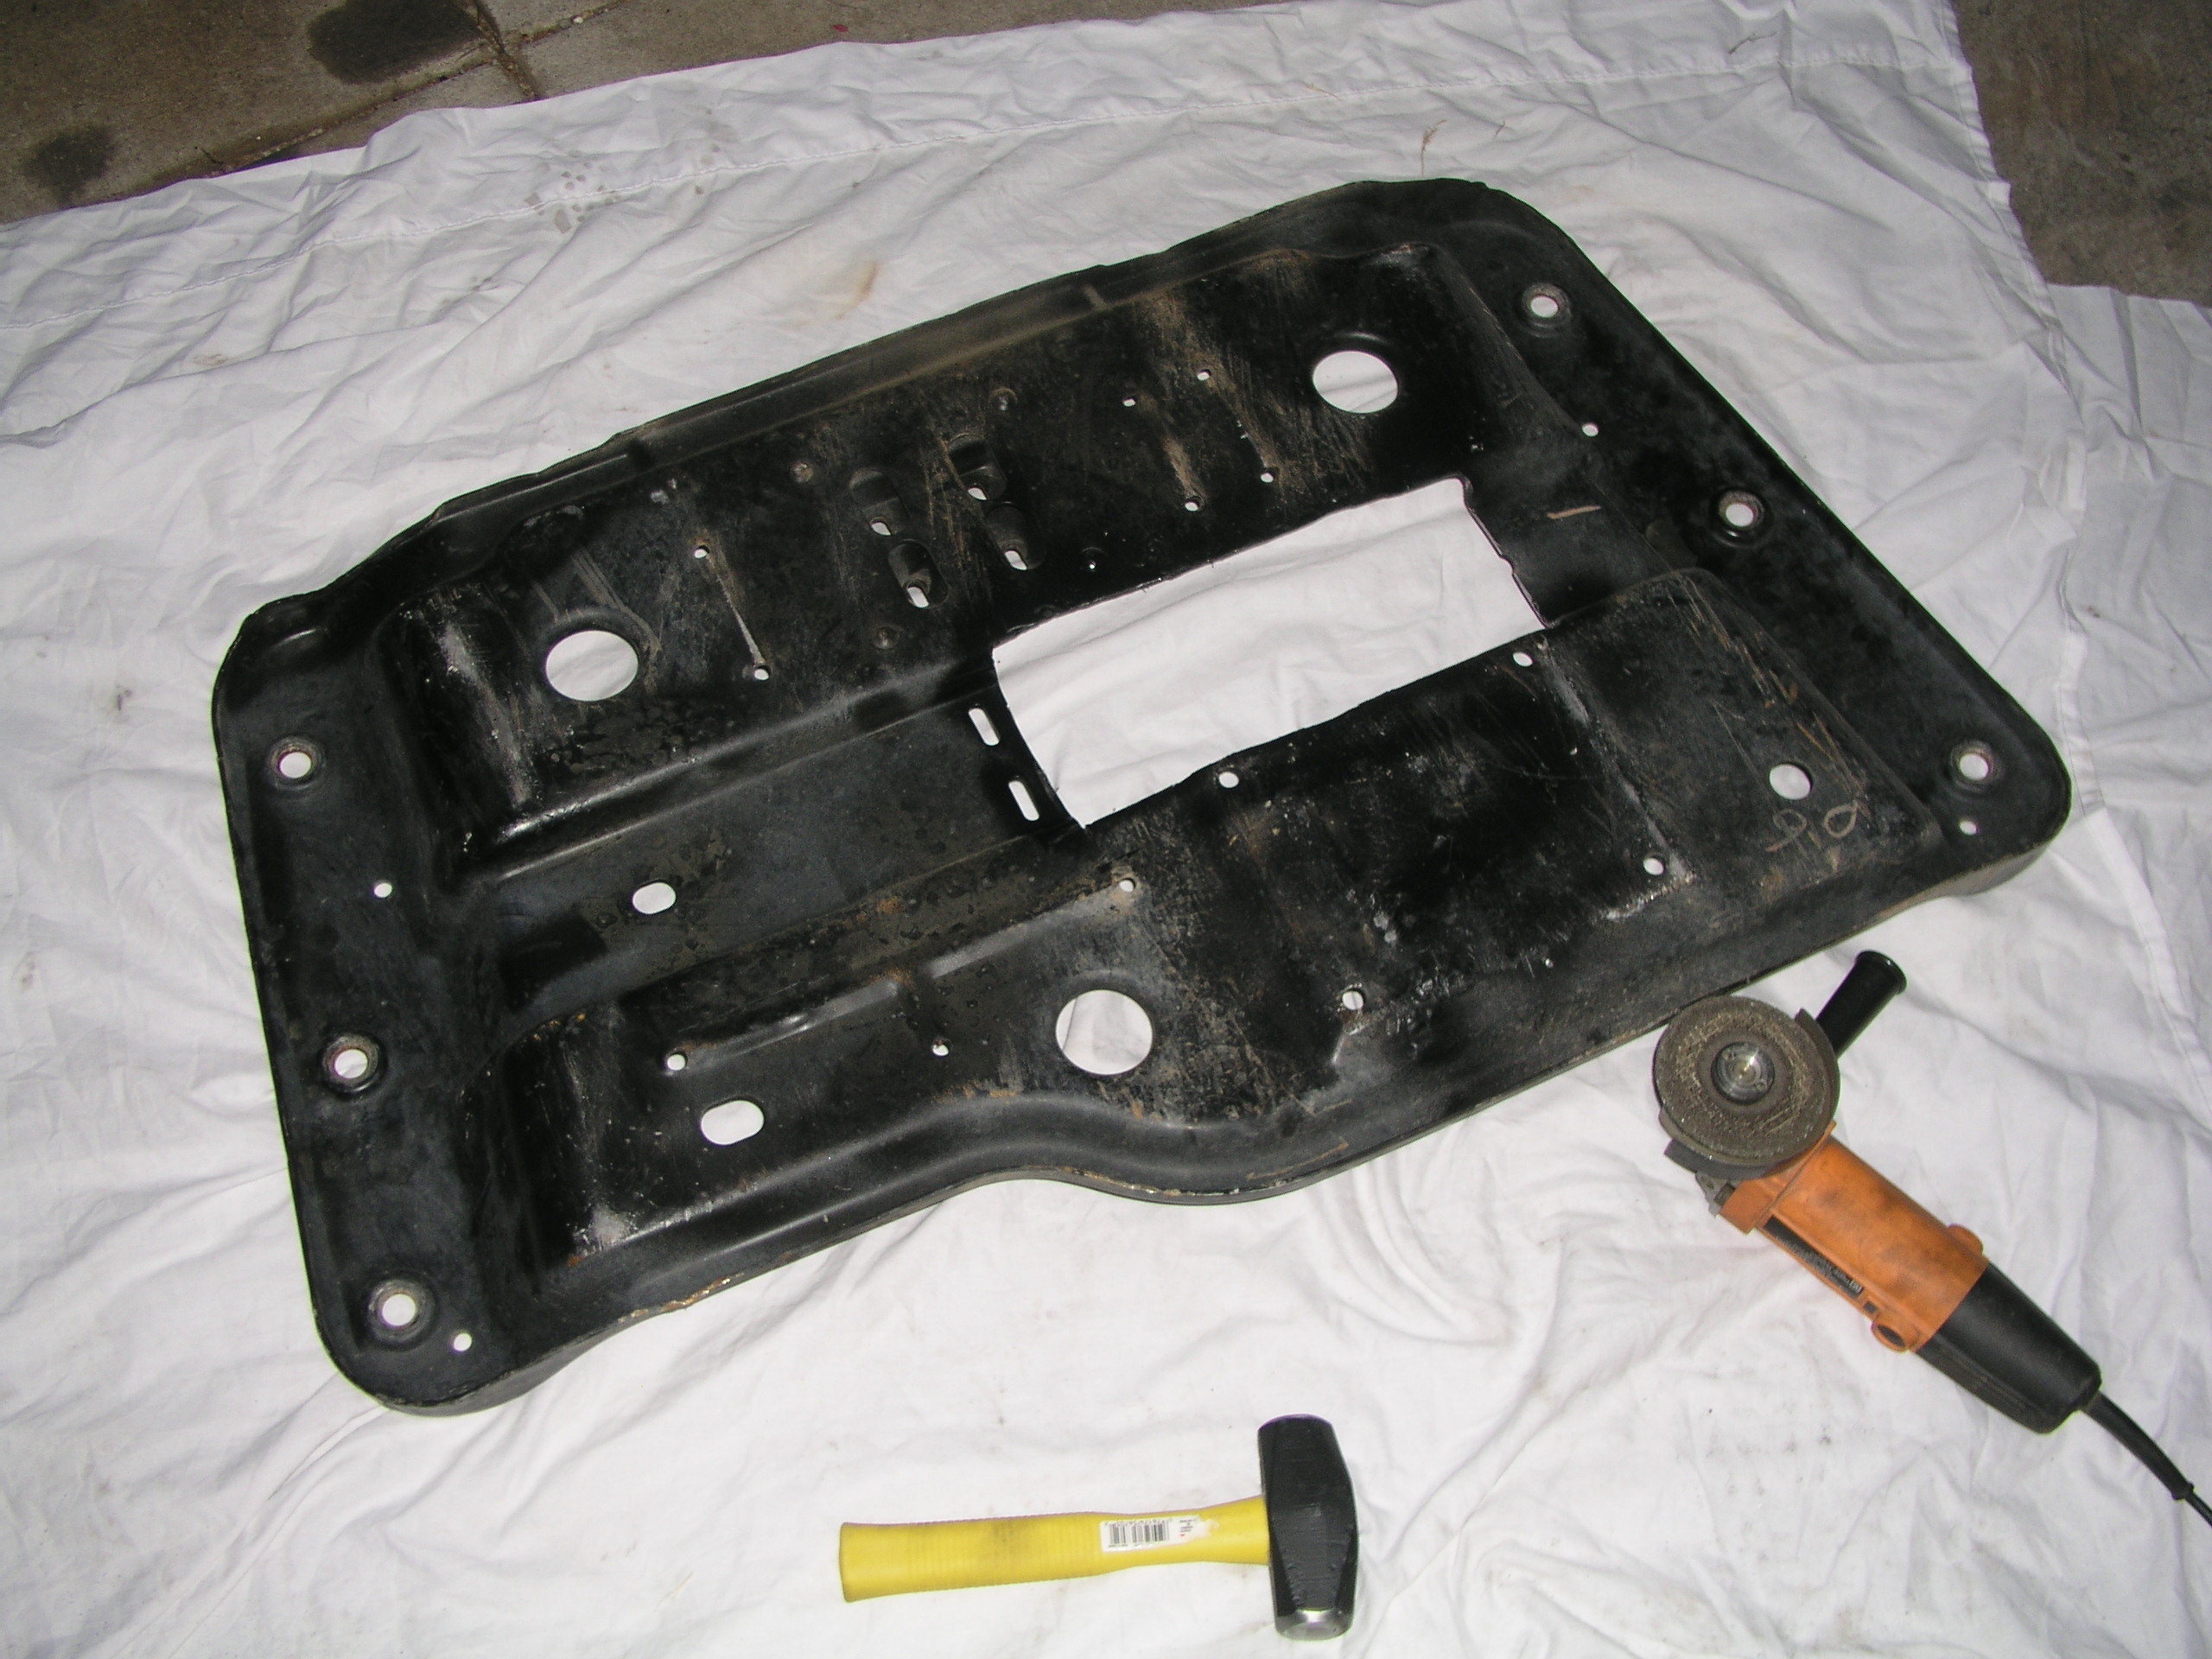
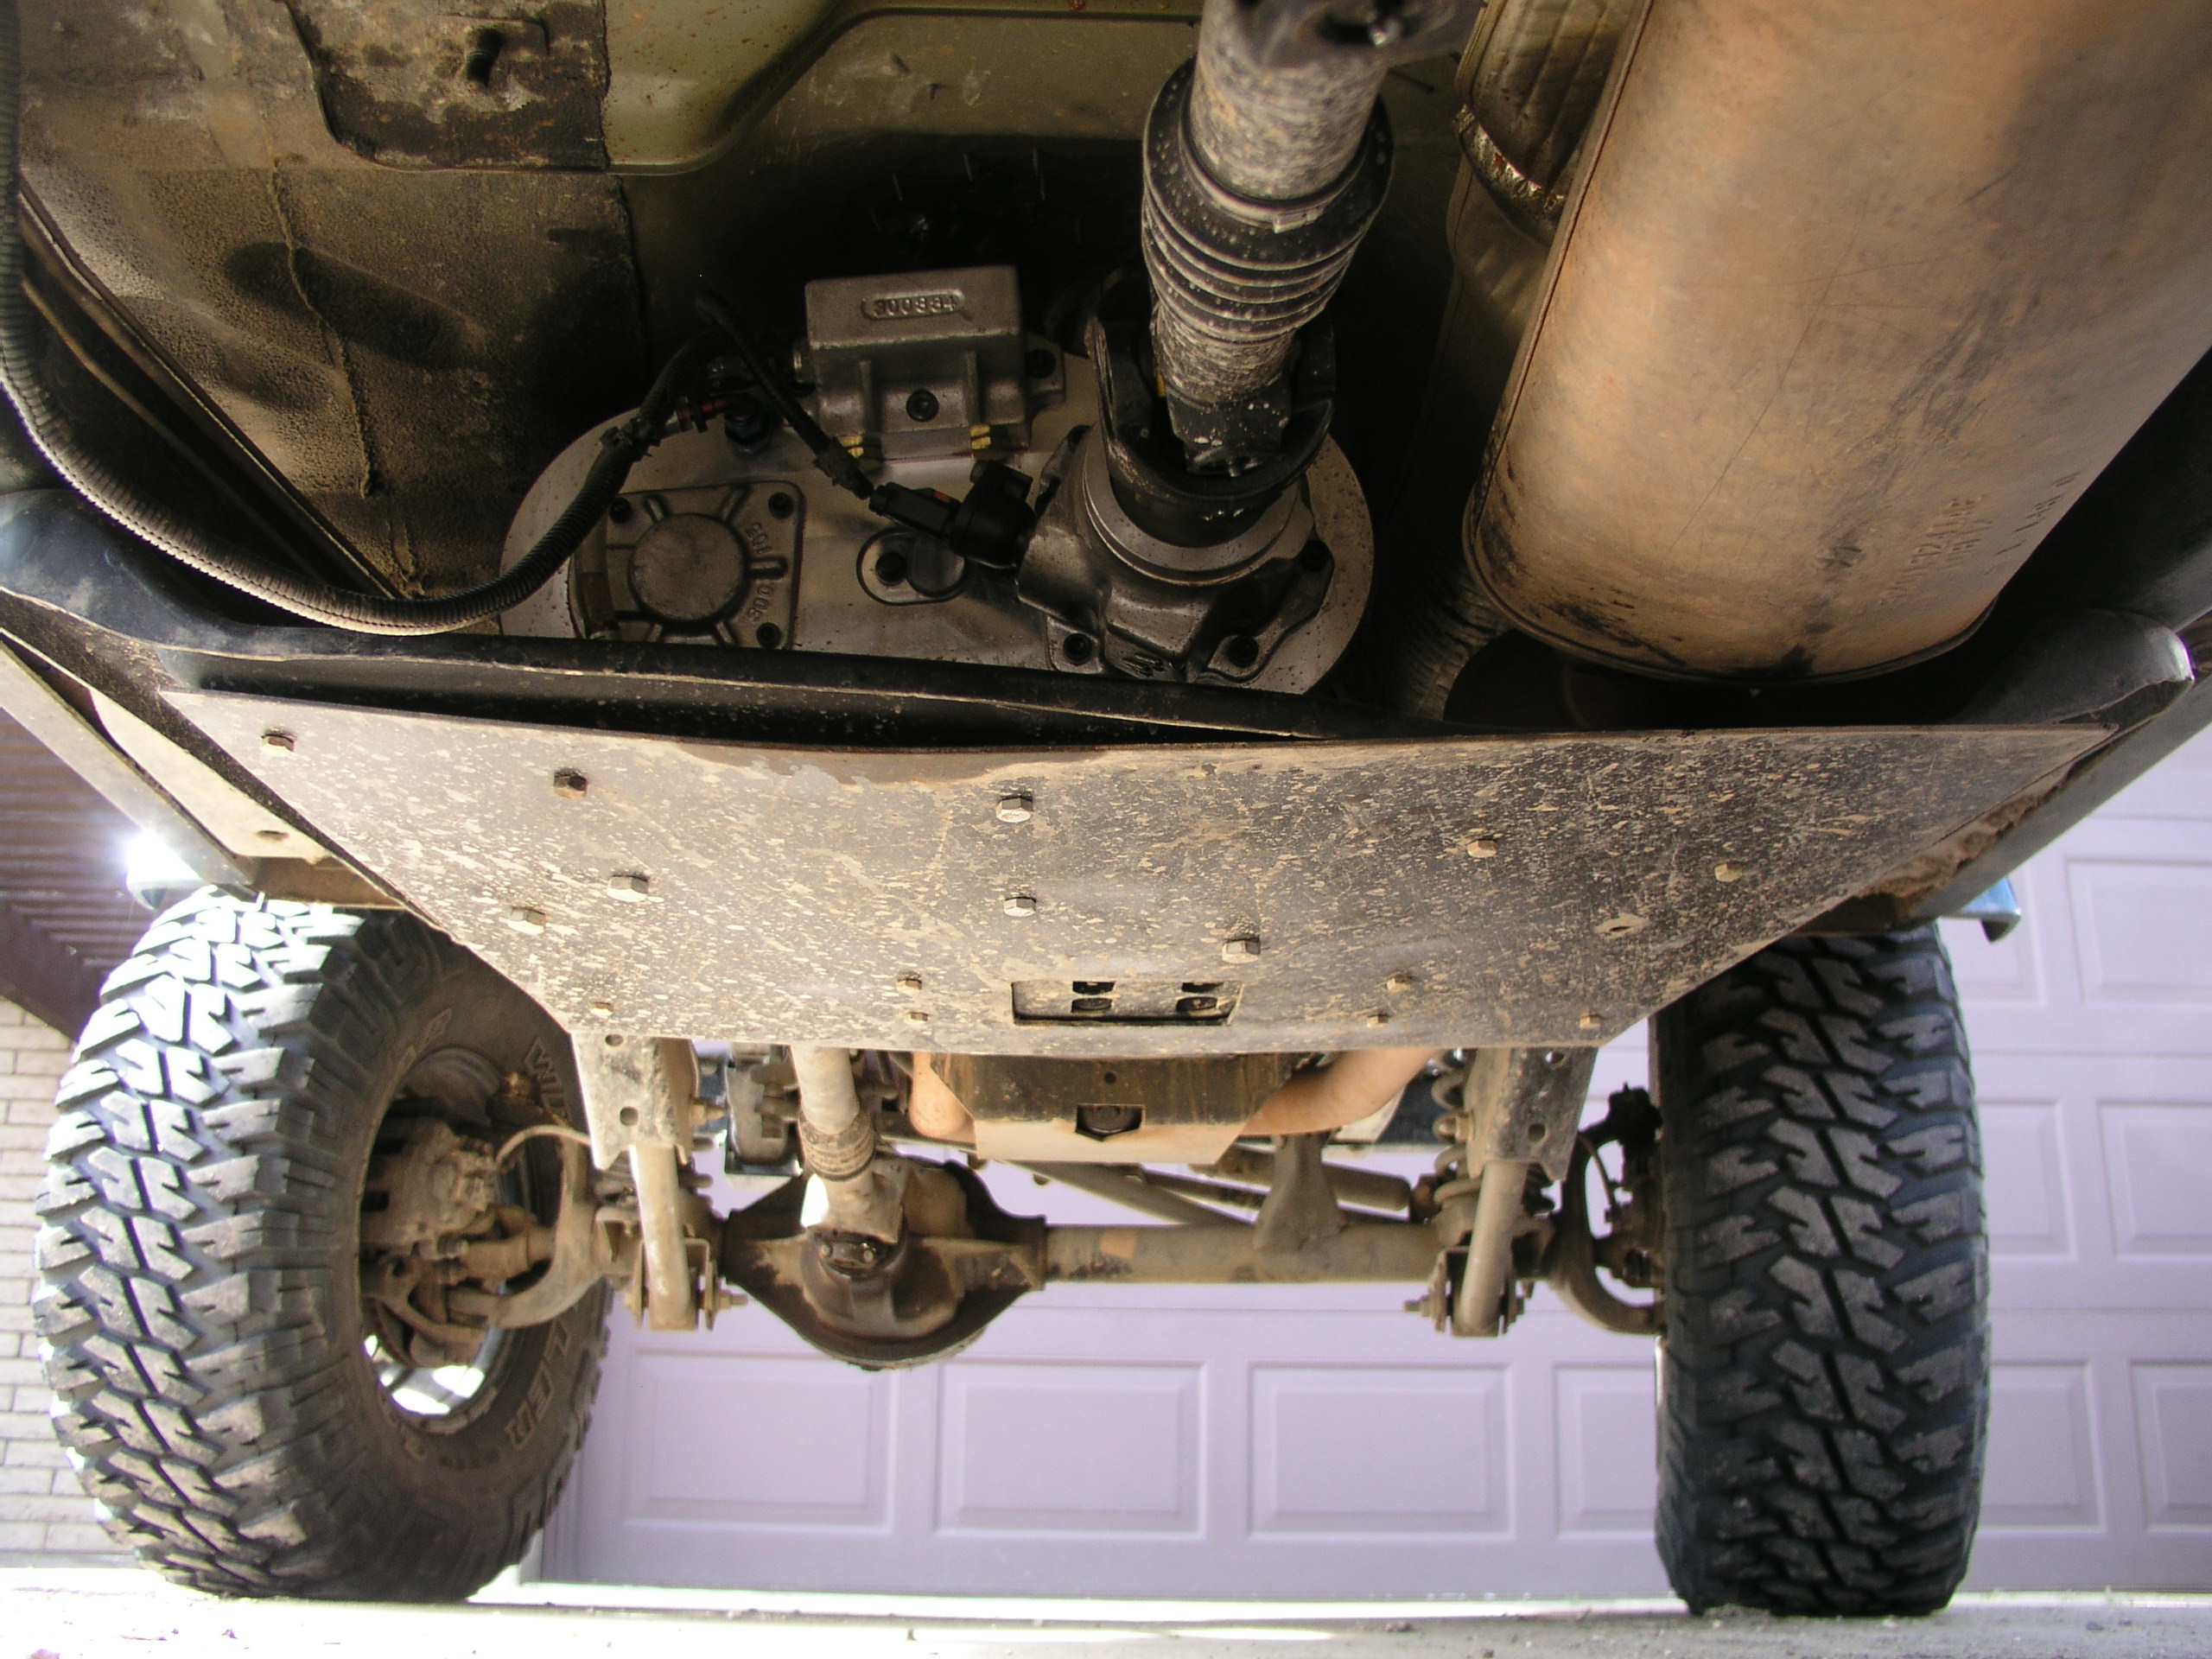
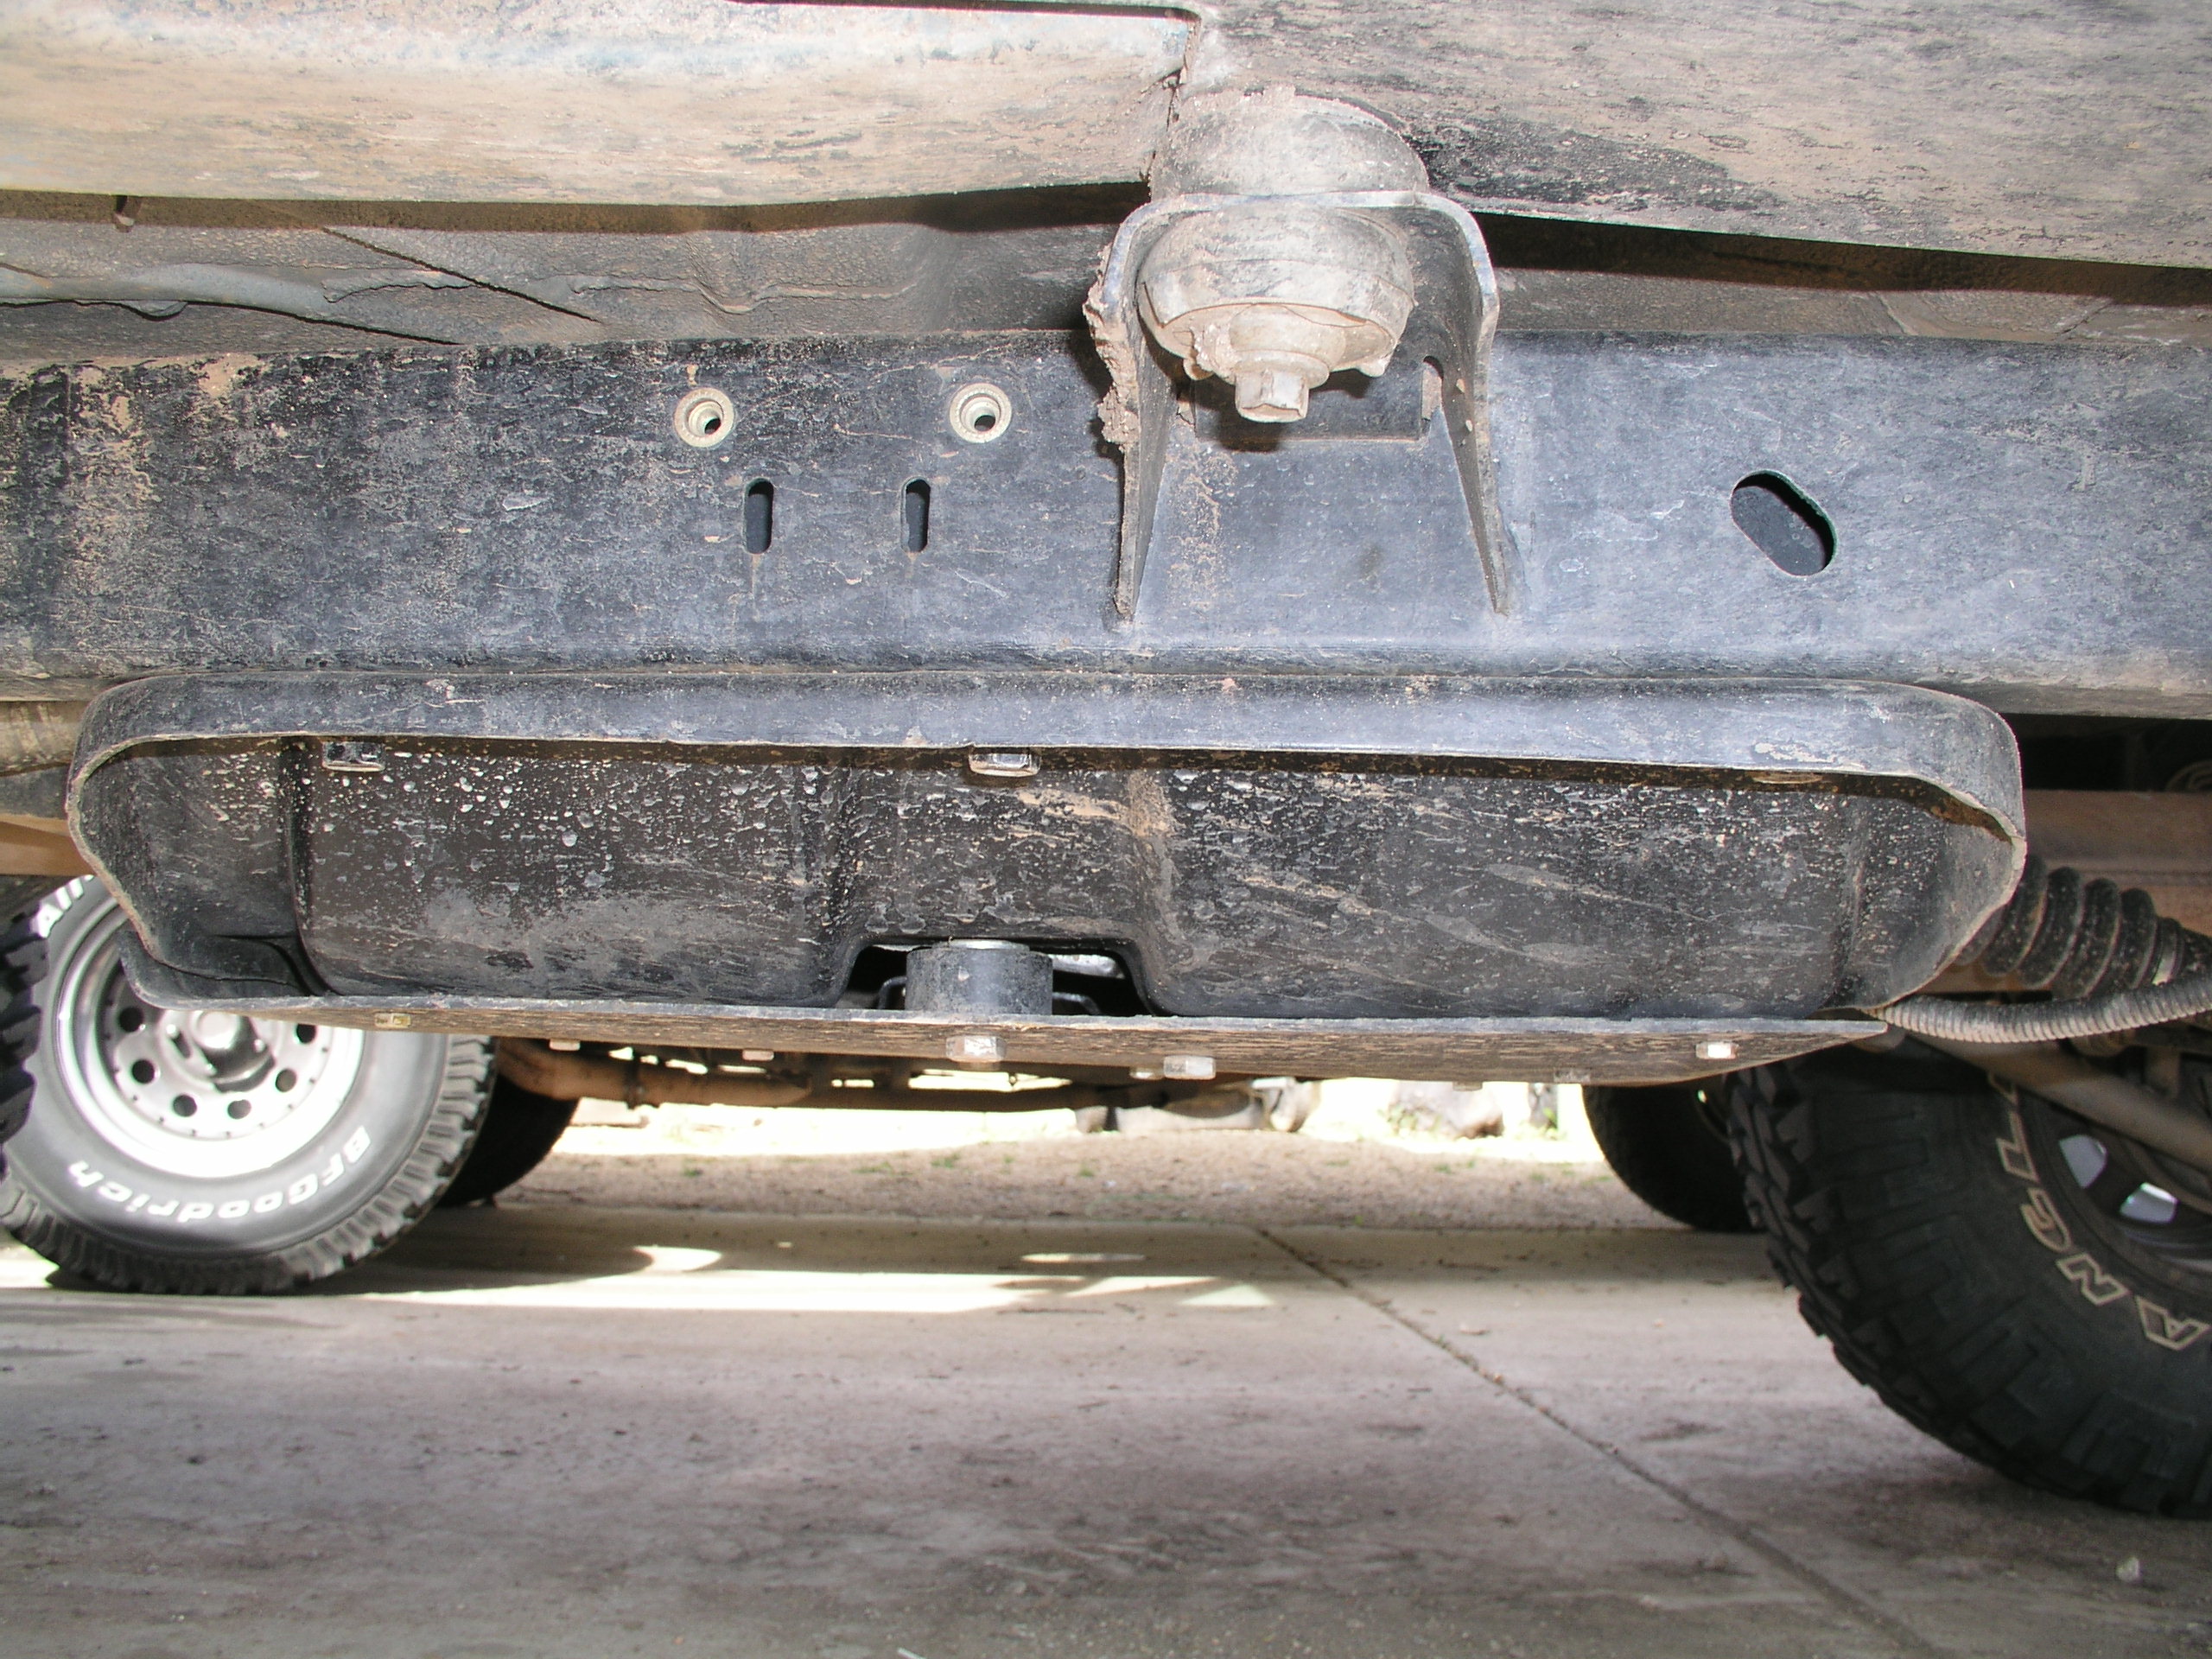
Now you can see
how much skid plate you must remove so you can tuck it up without the drop
pucks. The Atlas instructions gives you a sketch of where to cut; we had
to remove a tiny bit more. You're basically just cutting out one of the
ribs on the skid that bows up. Most people just "box" in that part by
welding a piece of metal that stretches across the gap. We went a
different route, because one, we wanted a stronger skid, two, Chris plans to
maybe get a belly up in the future, and three- we didn't have a welder.
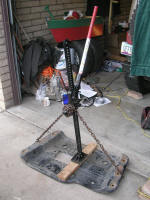
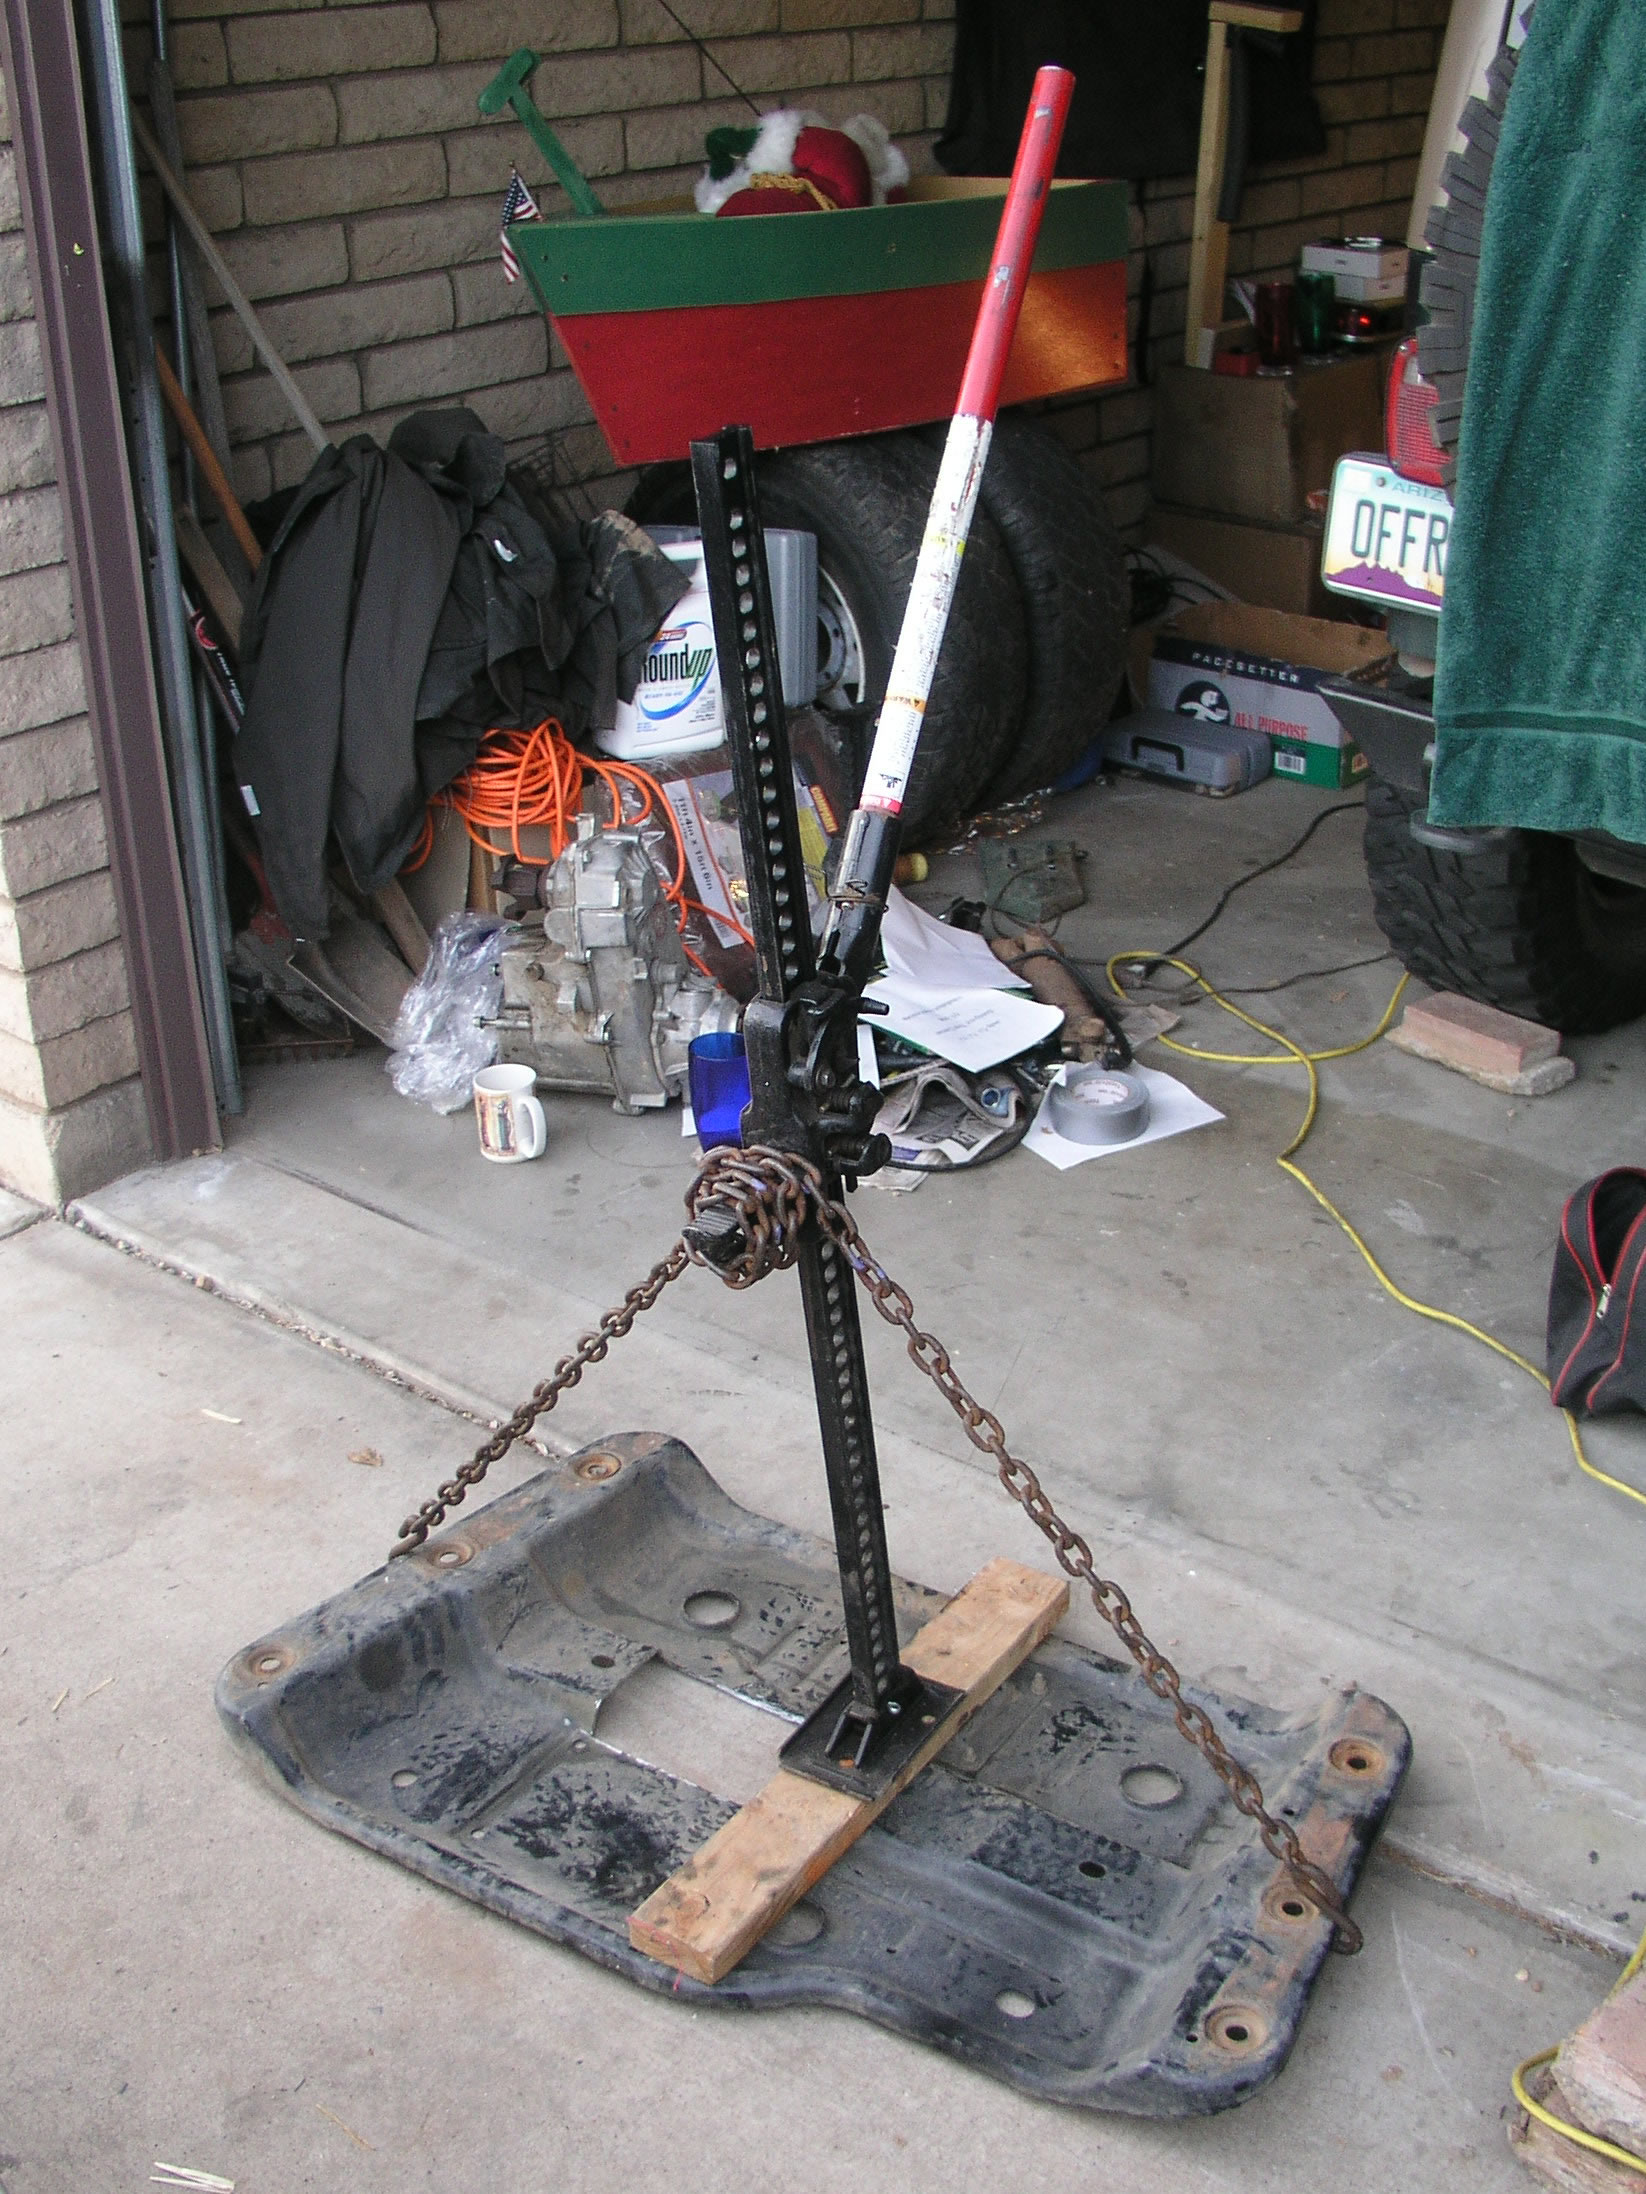
Here's an easy way to take the
bow out of your center skid with your Hi-Lift. |
The issue we seem to run into a lot
with the stock skids is that if you high center on it or bonk it good
enough, you bow the crap out of it. This leads to linkage noises among
others and changes the alignment of your drive train by lifting the tranny
and all its friends up and out of place. So instead of just installing
a small piece of metal to patch the hole, we decided to add a full size
piece that would cover the whole skid. We had seen them pre-made for
$140 online, but we opted to go down to the scrap steal yard and pick up a
30lb piece of 3/16 for 12 bucks. Then we just cut it to our liking,
made a hole to be able to access the tranny mount and then drilled holes to
install it. We drilled a couple new holes into the stock skid but for
the most part just used some of the already existing holes that were not
being used. We also used a couple of the old drop pucks as spacers
between the two skids where the stock one bows up, just in case the new one
thought about compressing into the Atlas it if a rock got to it there.
We even put a lip on the front by bending an inch of it up. We figured
the extra strength would be worth it and now there would be no ripples for
the rocks to get caught on so they could glide by if they wanted. |
|

|
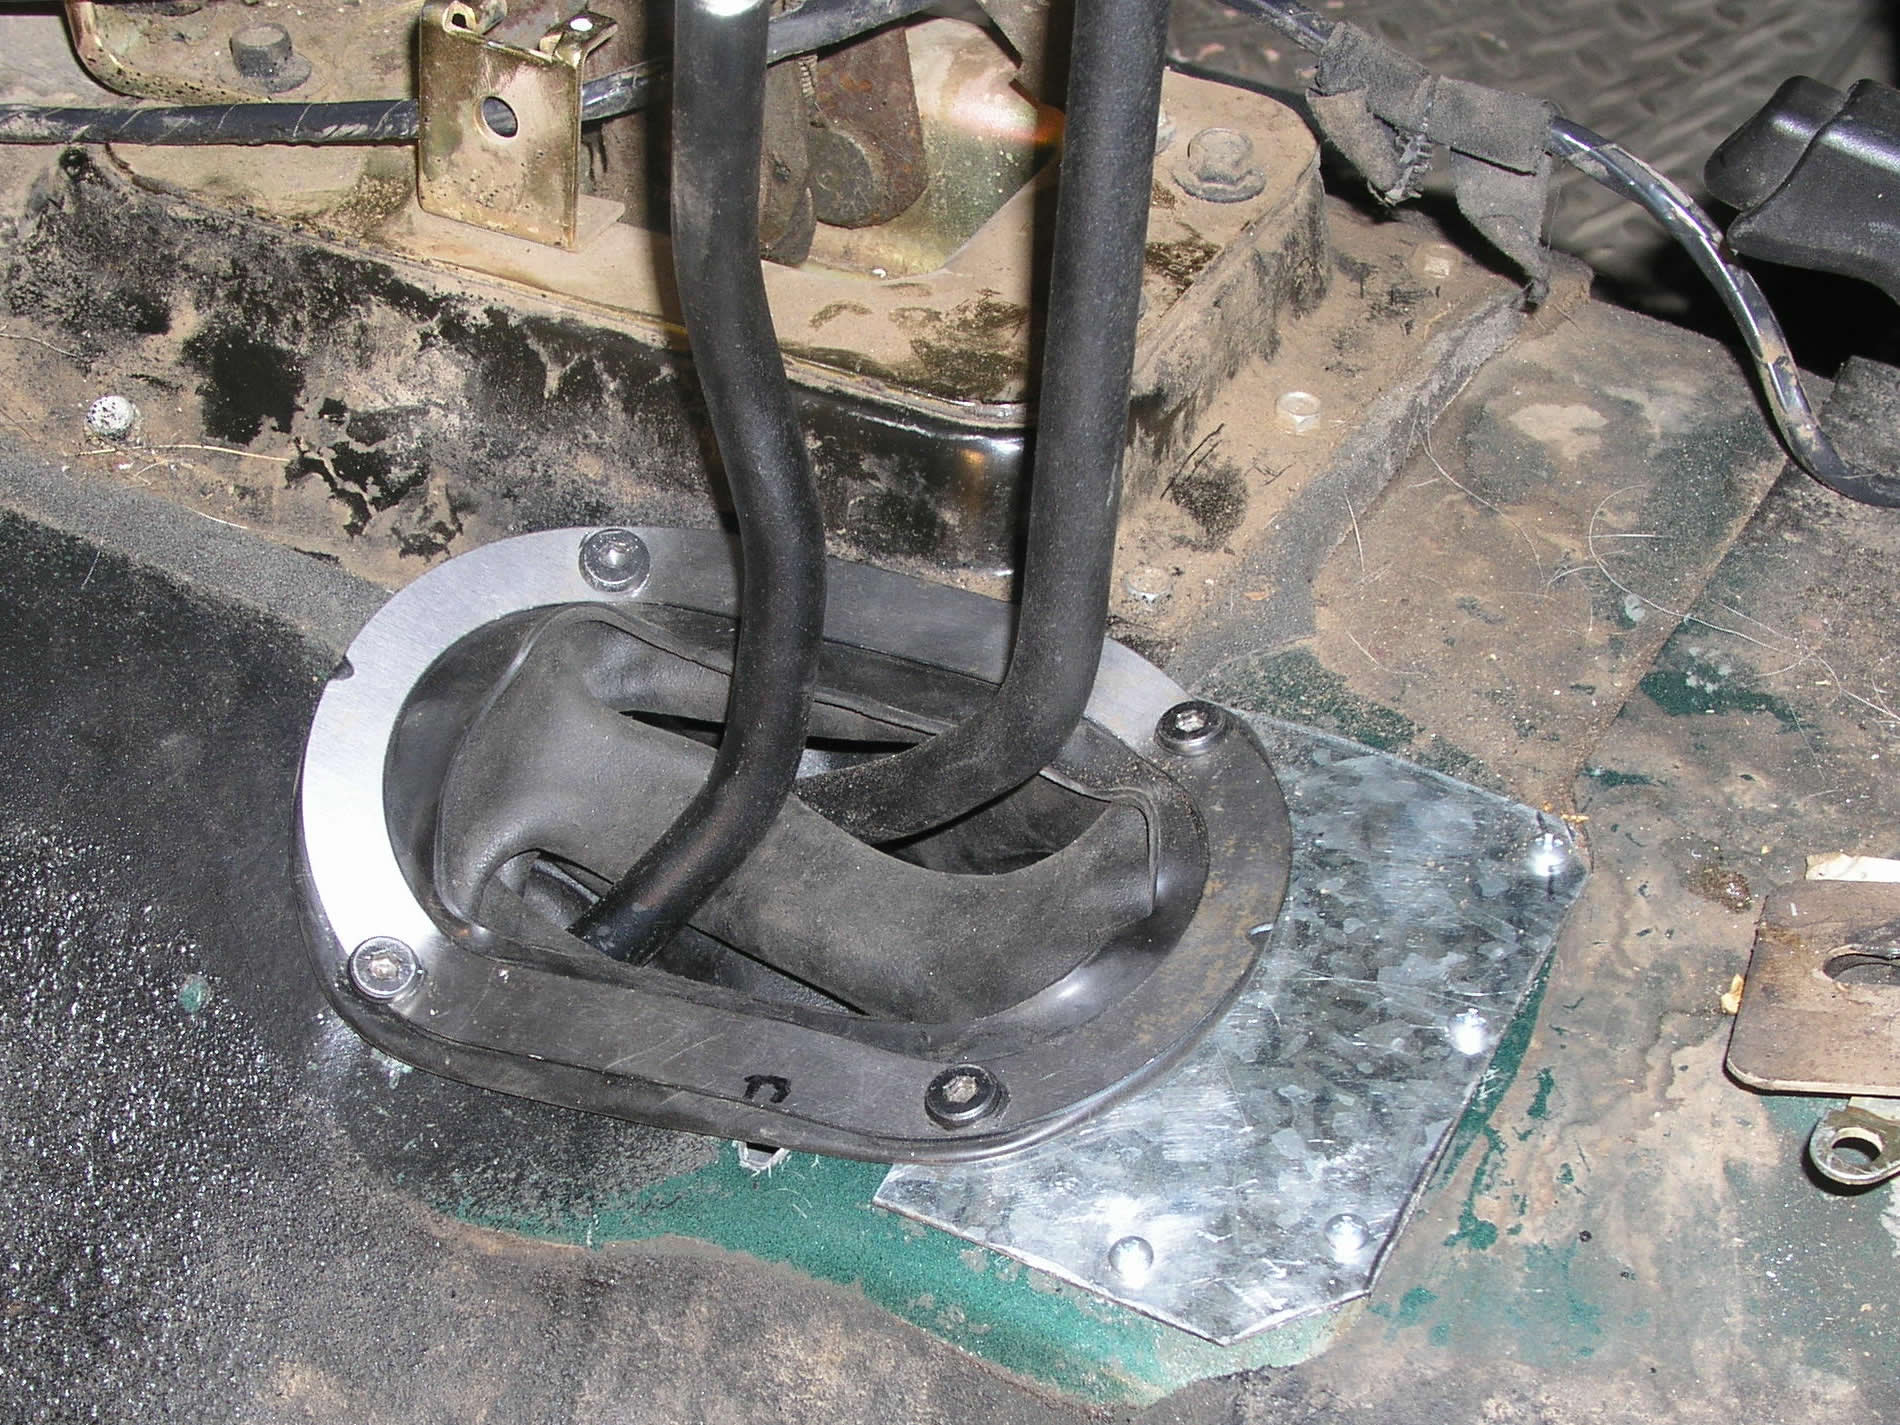
Lets get back to the floor
modifications for the shifter. We showed you how we tore it all up to
get it to fit. As long as the shifters work in all their positions
(this may be hard to do without rolling the Jeep around) we can try to get
it back to looking good as new. Like we already stated, we added a
small piece of sheet metal to the back of the new larger hole. We
affixed it with self drilling metal screws.
Then we installed the boot (with a little grease so it would slide down the
shifters easier), and then put the supplied metal ring on to hold the boot
in place. We drilled holes through the floor to hold this all in place
and added some bolts and nuts we had laying around. It ended up
looking pretty clean and before we put the seat and console back in, we
added bed liner to cover it all up. We did end up having to dremmel a
little on the console so the rear shifter could go back far enough. |
 |
All right, you've got the shifter holes
modified, the skid plate cut up, the mounting studs ready, the fluid filled, and
sensors and hoses ready to go. So get it that puppy on there already.
-But don't think that you're done. It's time to figure out your new drive
line set up.
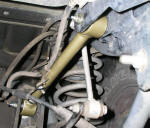
Hopefully you've already got both
shafts ready and waiting. Your old rear one won't bridge the gap and your
front one's going to at least need a shave. We had the
Tom Woods
standing by for the rear but waited until we had the Atlas in to figure out the
new front's length. Once we had the Atlas installed we drove down to
AA Arizona
Drivelines to have the front shortened (by the way, always let them
measure for you if possible- don't ask).
 |
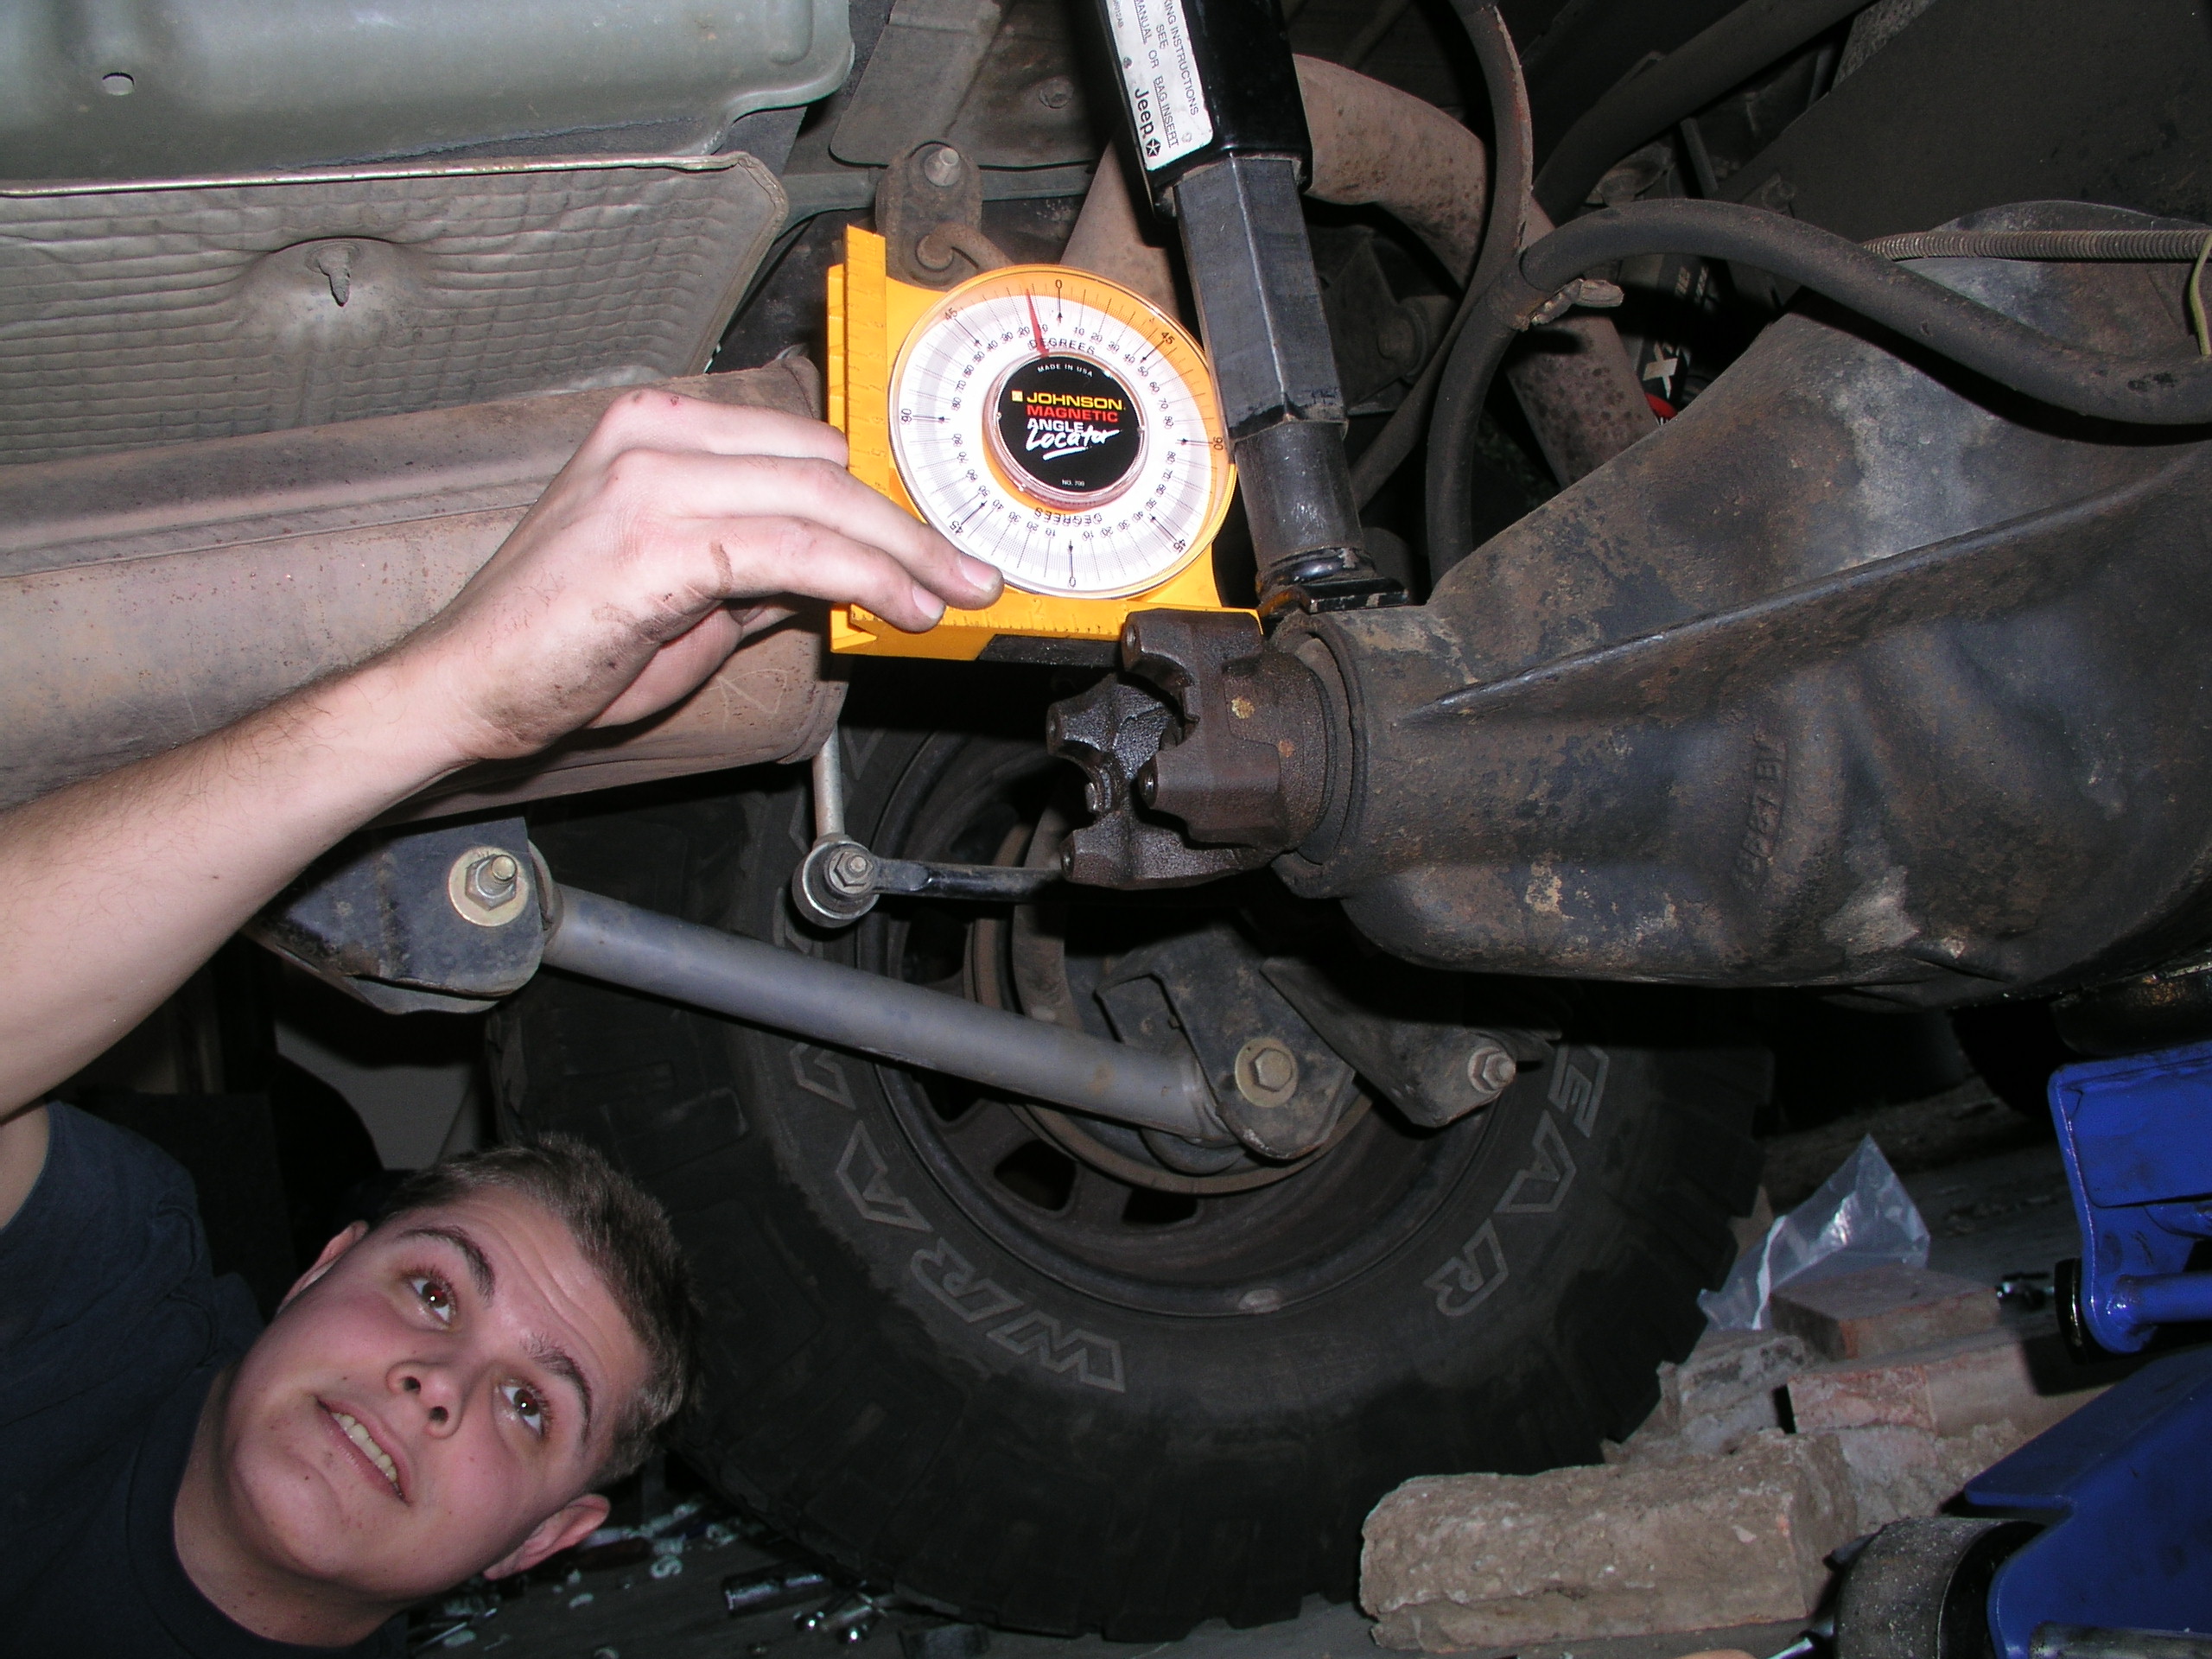
The biggest issue you're going to have
conquer is figuring out the rear's new pinion angle. Originally your
angles were set up so that whatever your transfer case output shaft was doing,
your differential's yoke was copying. Now with your t-case back where it
should be and almost sitting horizontal, you'll be able to use that CV shaft but
will have to figure out the new angle, which should set the pumpkin yoke
pointing almost directly at the t-case shaft. The rule of thumb here is
setting it at about 2 degrees under what would be a straight shot yoke to yoke.
You can accomplish changing your pumpkins angle with the use of adjustable upper
control arms. You can usually get these for a couple hundred bucks.
Chris bought his from
Currie.
Here's where it may get all muddy.
|
 |
 |
We ended up hurting our brains on this
one. There are formulas out there that you can use to figure
out the exact angles, but we scientifically eyeballed it with some
tools we had instead. We used a magnetic angle finder (8$ at
Home Depot) to figure out where the Atlas shaft was at and what was
2 degrees shy of a straight shot. To figure out what a
straight shot would be, we used a straight metal rod and hooked it
to the pumpkin yoke and saw where it came to at the Atlas end.
Then with the old upper arms off, and the help of an upside down
bottle jack, we adjusted the diff to where 2 degrees under would be. |
Then we took the new upper control arms
and adjusted them out to where they needed to be to keep the pumpkin pointed
where we decided it should be.
Did it work??


|