|

Hokay, we begin with the removal of the problem child first.
If you don't know how to do this, then you shouldn't go any further with this
install.
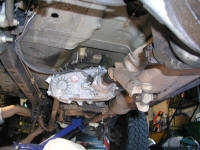 |
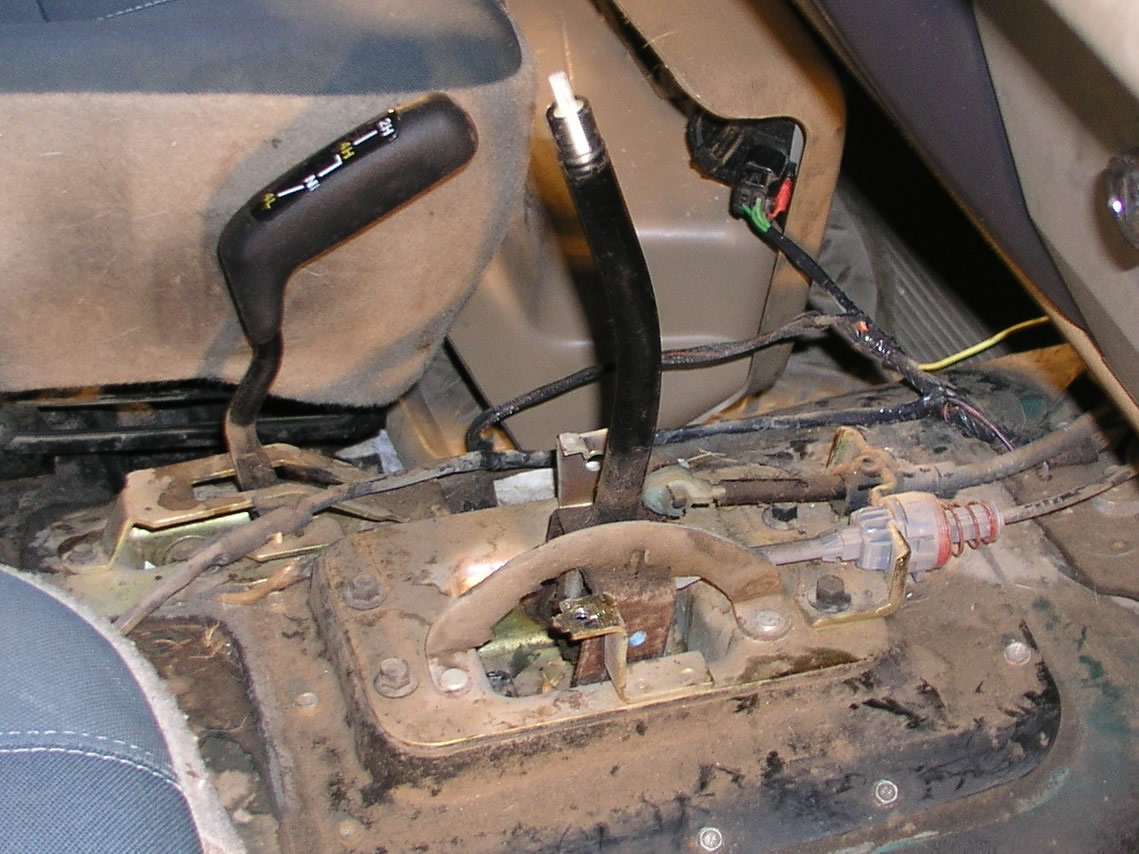
Support the tranny with a jack (we usually add a small 2x4 to
the top to spread out the weight). Yank of the center skid, lose the
driveshafts, and remove the linkage. Try not to tip the old t-case to much
or removing it will become a lot messier than it has to be. Get it down
off the tranny and put it in the corner of the garage with the other discarded
useless cases.
|
 |
You also need to go to the inside of
your Jeep and take out the front part of your console so you can make room in
the floor for the shifters. Pulling your driver's seat will help a lot
also.
To remove the transmission shifter
handle, just simply pull up on it really hard and bust your hand on the dash
when it finally pulls free.
The airbag safety stuff, pops up from
the clips holding it on the bottom side and then you can put it back through so
you don't have to disconnect anything.
|
 |
Now
it's time to just sit around regarding the new shiny replacement. Even
though the Atlas is shipped dry, ours seemed to be oozing something we believed
to be plain straight testosterone. The packing of the unit is cool too
because the Atlas is basically just foam sealed in its box.
|
 |
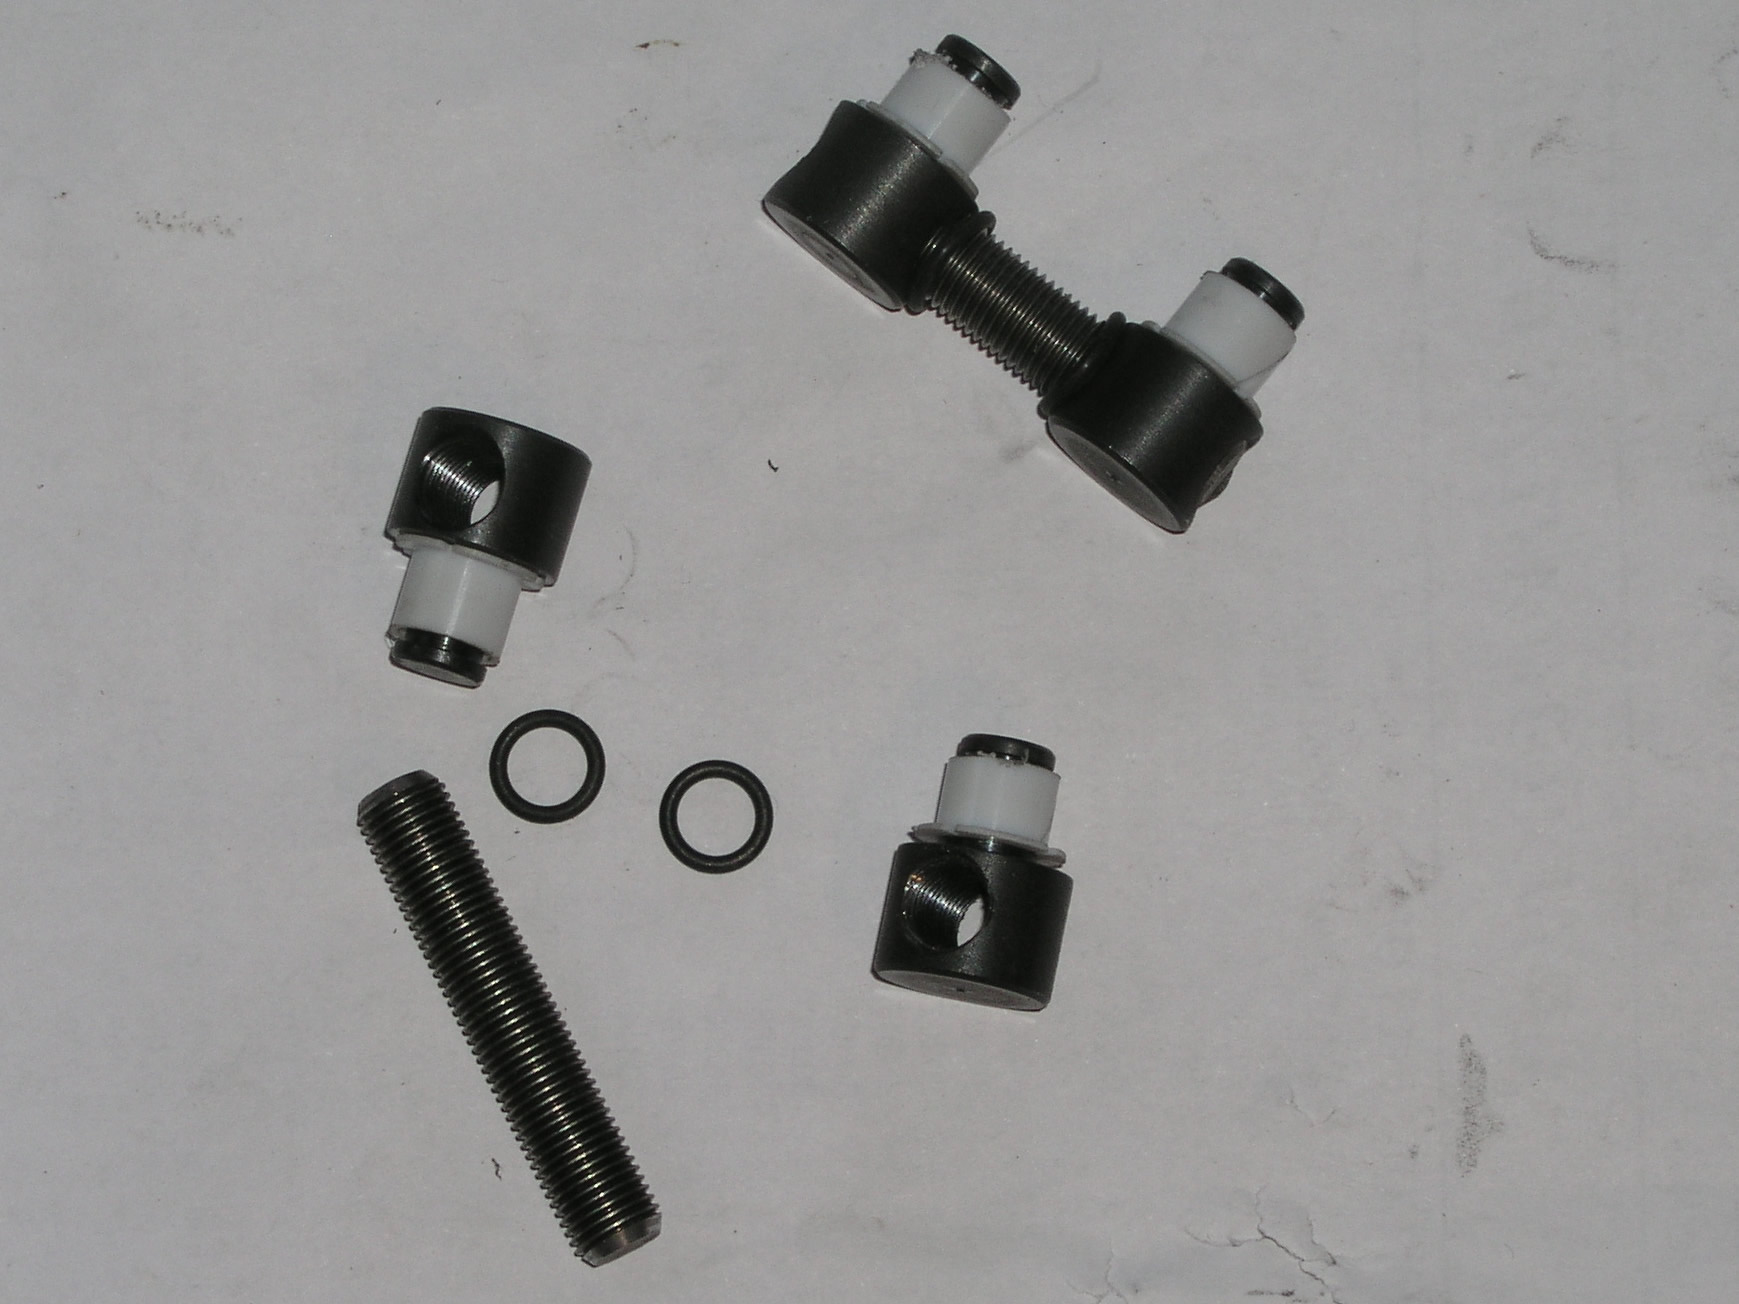
Go ahead and root through the parts to make sure everything
is their and to familiarize yourself with them. Our package was missing
one of the all thread studs, so we just picked up a piece of grade 8 fine thread
ready rod at the store and cut it to size.
You need to begin assembling the shifter tower and linkage
before installing the Atlas.
|
 |
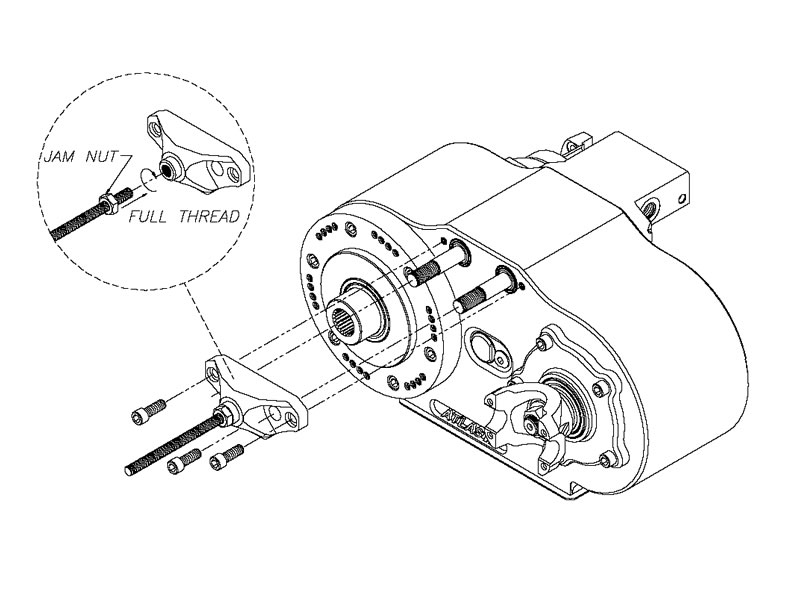
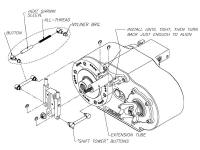
Locate
the 3 hex hex bolts. Apply Blue RTV to the threads and install the
aluminum shift tower to the Atlas.
Install the large all thread into the shift tower with the
jam nut to keep in place. Slide the extension tube (small length of pipe)
on the all thread over the jam nut and it should seat with a little tapping,
on its spot on the shift tower. This extension should put the shifters
where they need to be to come up through your stock shifter hole. |
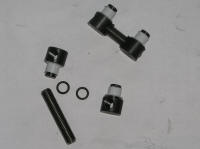 |
Take the small all thread rods and
thread on the "shift tower" buttons. The diagram states to place a
heat shrink tube in between them, but if you are installing your atlas in a
wrangler as we were, you use the provided O-rings to keep the buttons from
screwing further down the all thread. Add the small nyliner plastic
sheaths to the button ends. |
 |
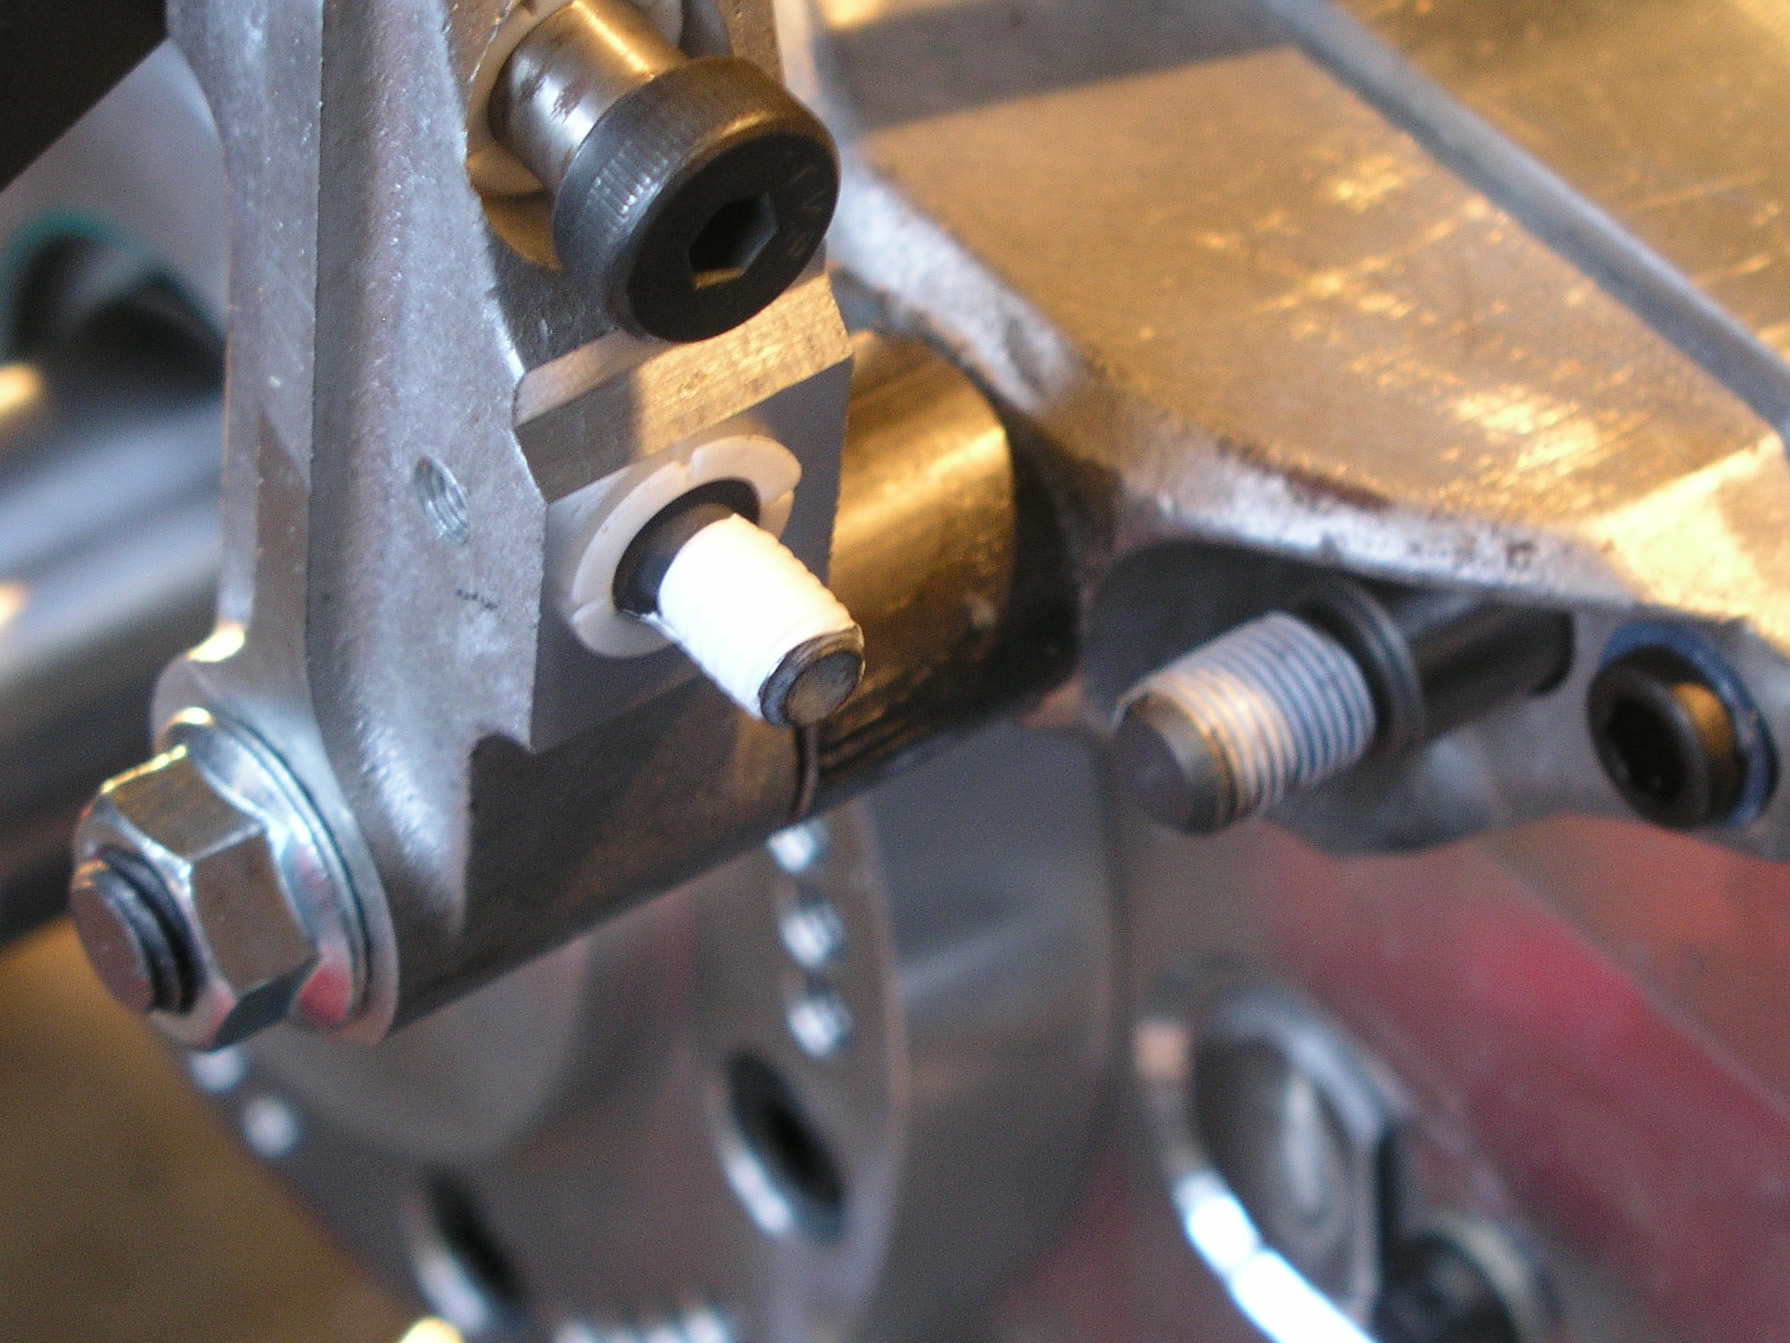
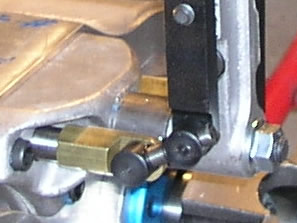
Put Teflon tape on the Atlas's
threaded shifter rods. Then screw on the brass ends until finger tight
and then back off enough for alignment. Also add tape to the threaded
hex bolts that will hold the shifters in place. |
 |
Now, by looking at the
diagram, assemble the rest of the shifting linkage up against the extension
tube. You want to adjust the shift buttons on their all thread links
so that the shifter handles stick straight up from the tower. Once
you're sure of where you want them, add the c-clip to hold the buttons in
place. You can add the grease fittings to the tower also. |
You might as well now take off the old components off
your old t-case that you will be reusing on the Atlas. This includes the
4x4 switch and the speedometer gear assembly. Reinstall them and then
remember after the completed install to hook all of them back up.
Okay, now comes the first of many tests.
Get the Atlas on a nice stable jack and ease it on up into its spot behind
the tranny, carefully guiding the shifters through the floorboard.
 |
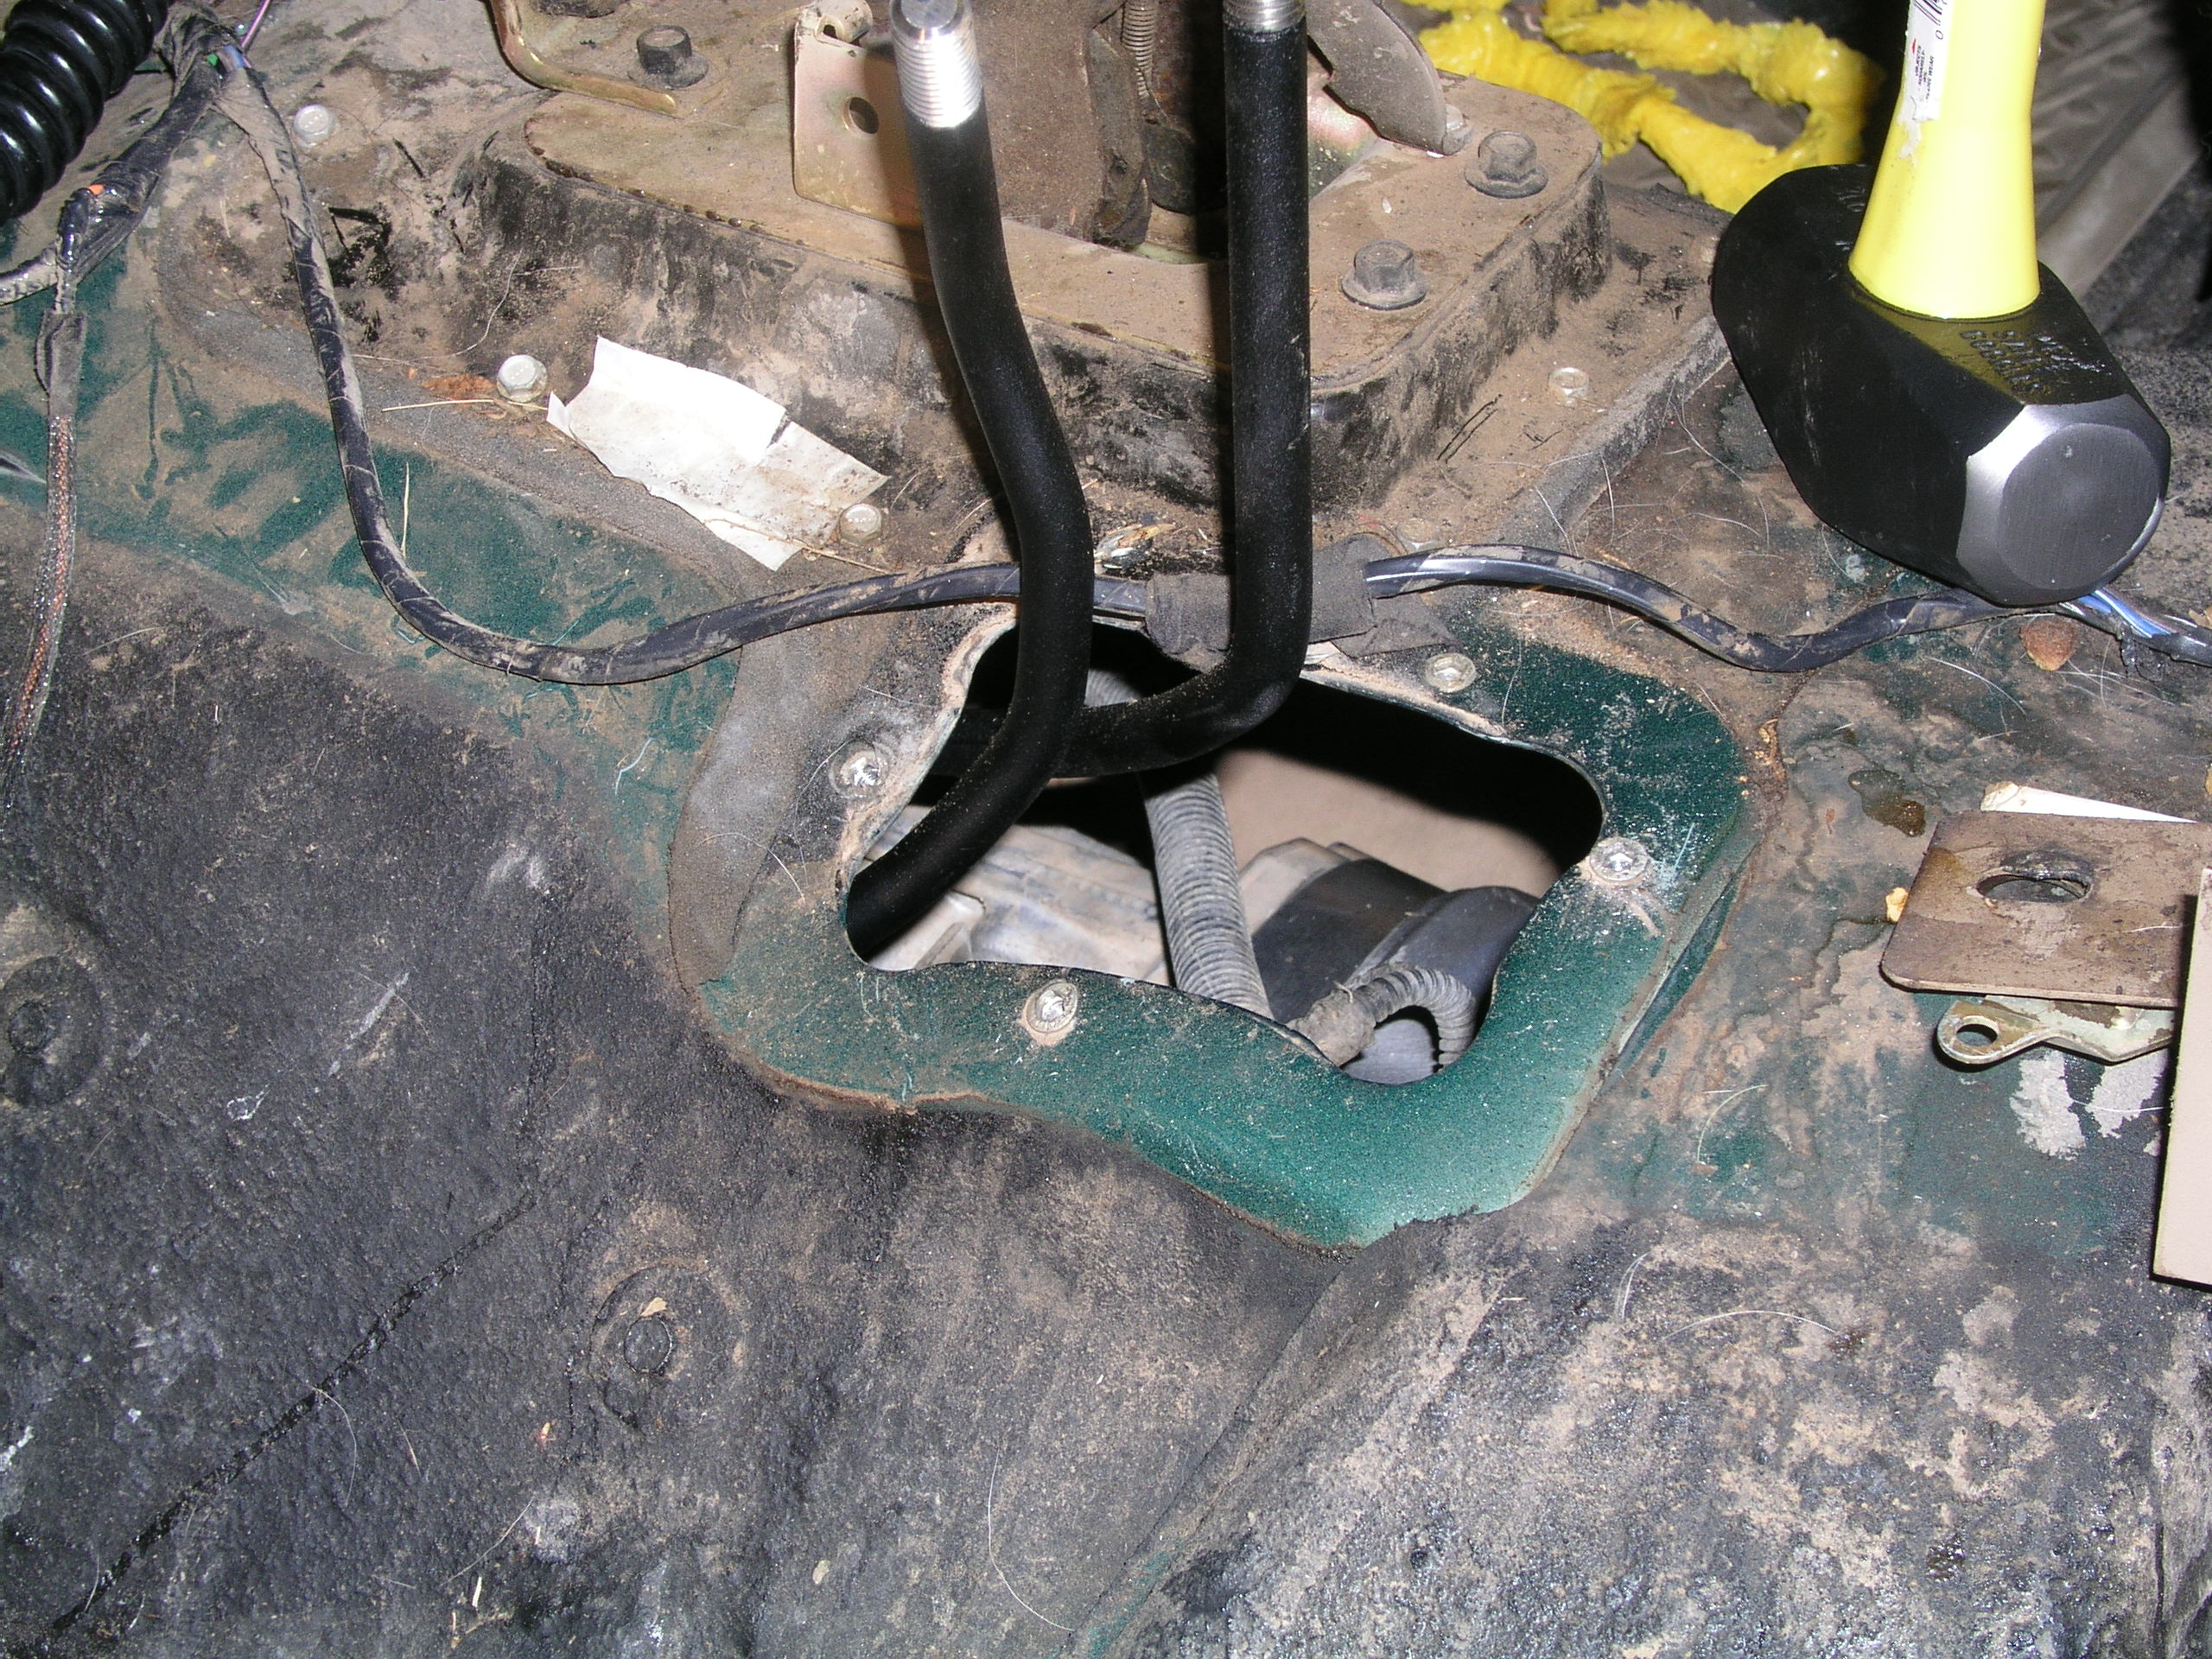
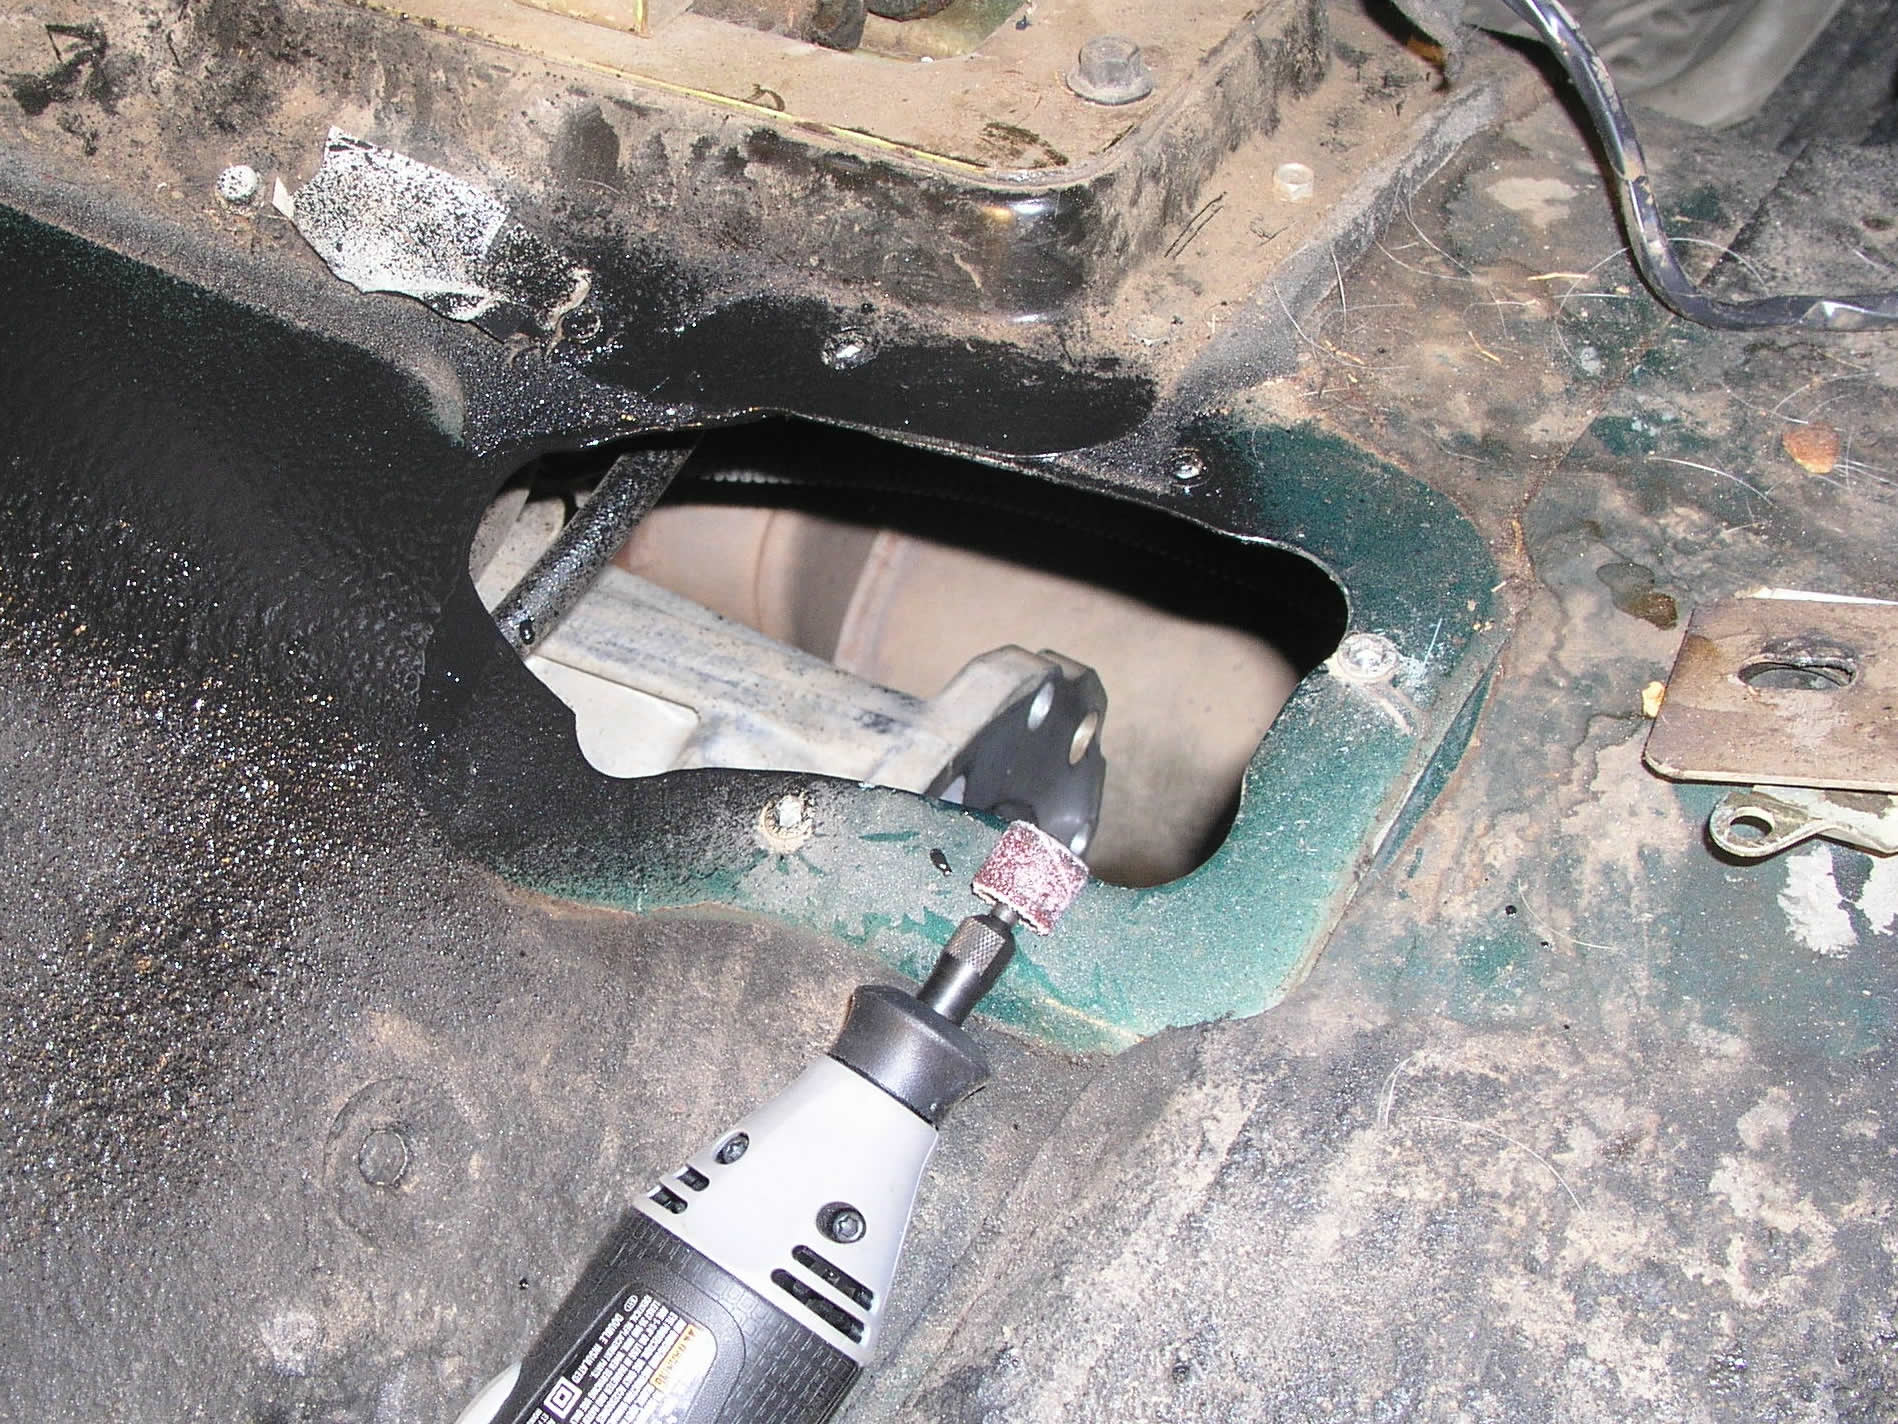
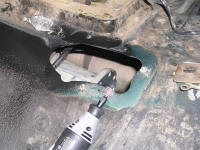
There are a couple things you need to measure
for and figure out now. First, you're going to have to cut away some
of your floorboard to make room
for the shifters' travel. We cut away more than an inch up front and
ended up adding some sheet metal to the rear to keep the heat out of the
interior. |
 |
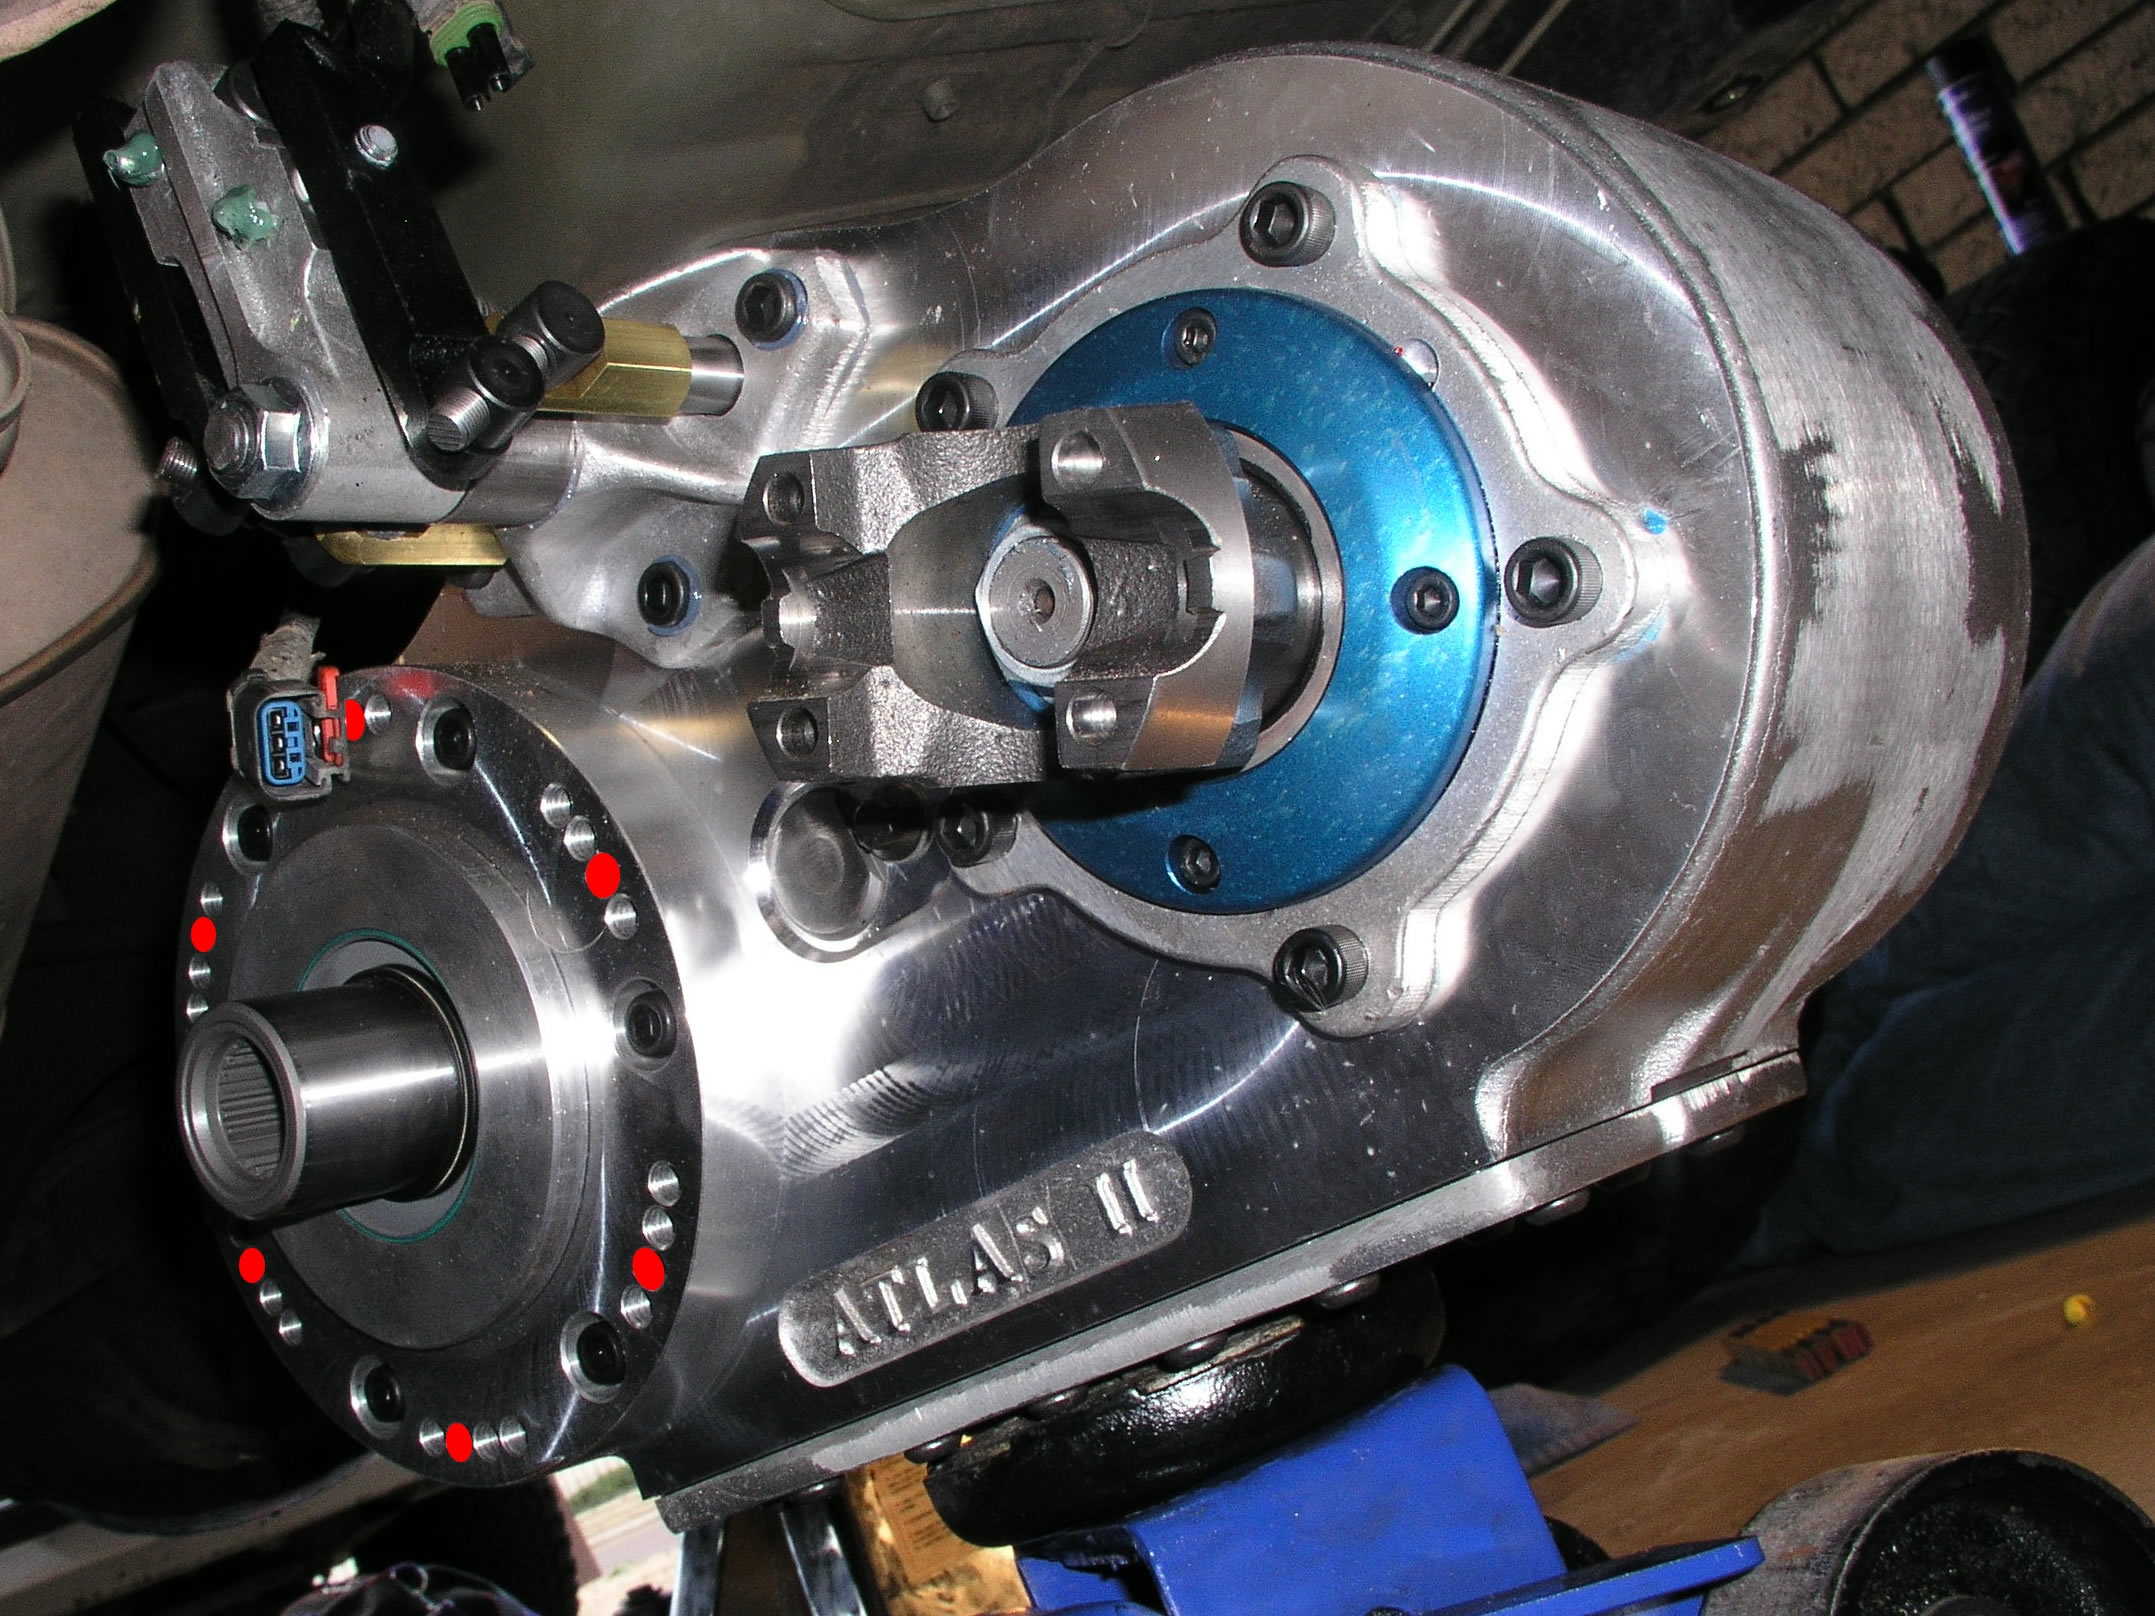
The
second thing you're figuring out is what height you are going to clock your
Atlas at. Obviously you are mounting the Atlas up against the tranny, but
for each stud that will be making that connection, there are 4 different holes you
can use. This way you can rotate the Atlas until all your clearance issues
are met. Figuring out which hole to use is not a fun part, but it is an
excellent way to be able to chose how you install your Atlas. One of the
reasons Chris went with the Atlas was that he could get a longer high angle
driveline and eliminate the transfer case lowering pucks that also lowered his
ground clearance. By using a shallow rotation he could bring the canter
skid back up to where it should be. We went with the second hole giving it
the second shallowest position because at the shallowest he would have to cut
away some of his floor to make room for the huge Atlas. At the second
shallowest, 14 degrees, it is closest to the original's 13 degrees, and fits
just fine, as long as you cut out a section of your center skid.


 |