|
|
|||||||||||||
|
Author - Jonathan Kuipers |
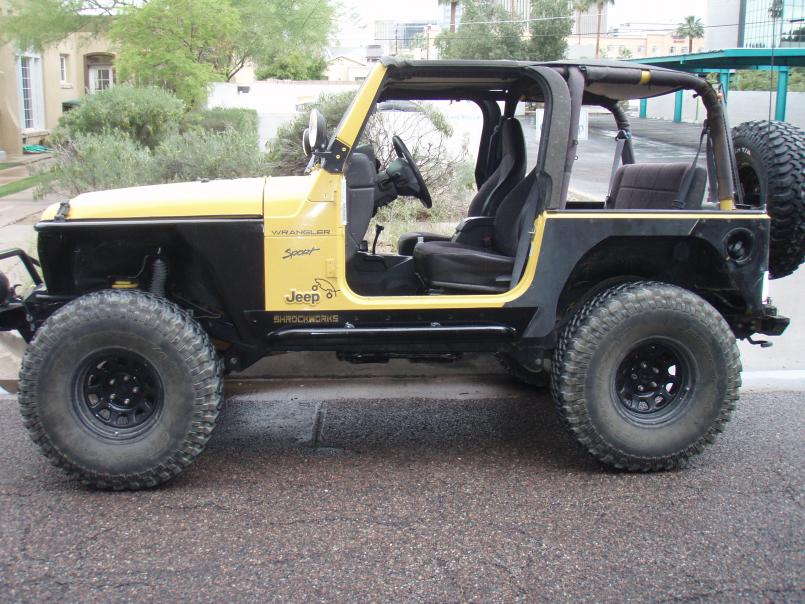
First, a little explanation: I've always liked the looks of the tube fenders. They look more aggressive (more exposed tire), create more tire clearance, and add some protection. Also ever since removing our snorkel the hole in the fender panel has bothered us. You may be thinking, "snorkel in the desert? whose bright idea was that?". Ok so I didn't know much about wheeling back then and we actually sold it for a profit so there's that. The final straws that made me start this project were a fender bender in a parking lot that literally kinked the front passenger side fender and tearing a rear fender flare out on the trails. Having done our Highline Conversion our options were a little limited. I liked the Poison Spyder fenders but they didn't make them for a highline and quite frankly I couldn't afford the almost $500 price tag. After pricing out the material at less than $50 I thought it might be something I could do myself with the right help. One day after work the cutting wheel seemed to be calling to me so I gave the Yellowsub flat fenders as a first step to the tubes. Unfortunately it was a little spur of the moment so I didn't have a camera and didn't think to use my phone to take pictures.
|
|
|
|
||
|
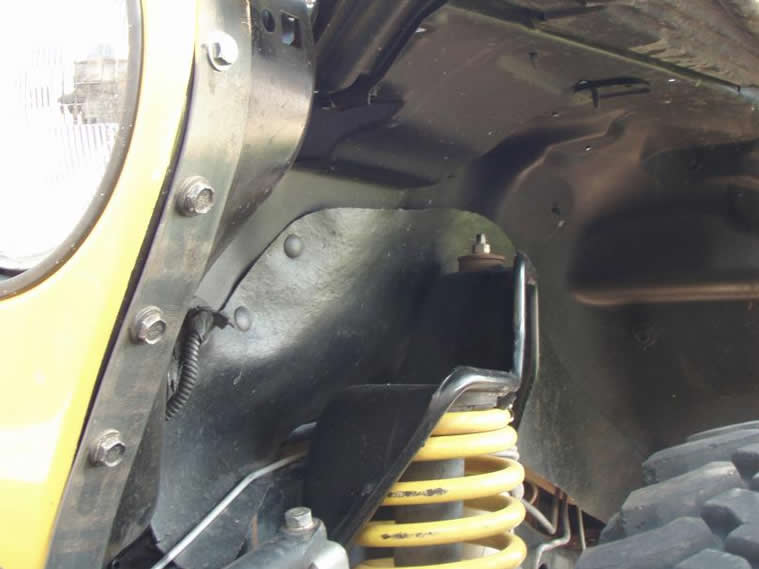
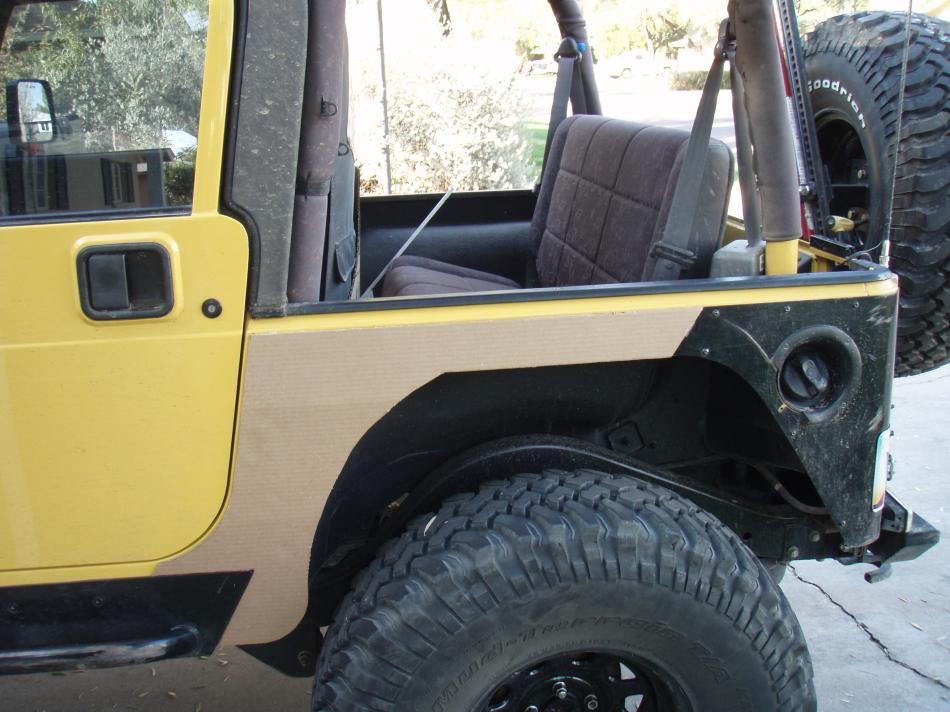
Stock fenders paired with our homemade High Line'd set up |
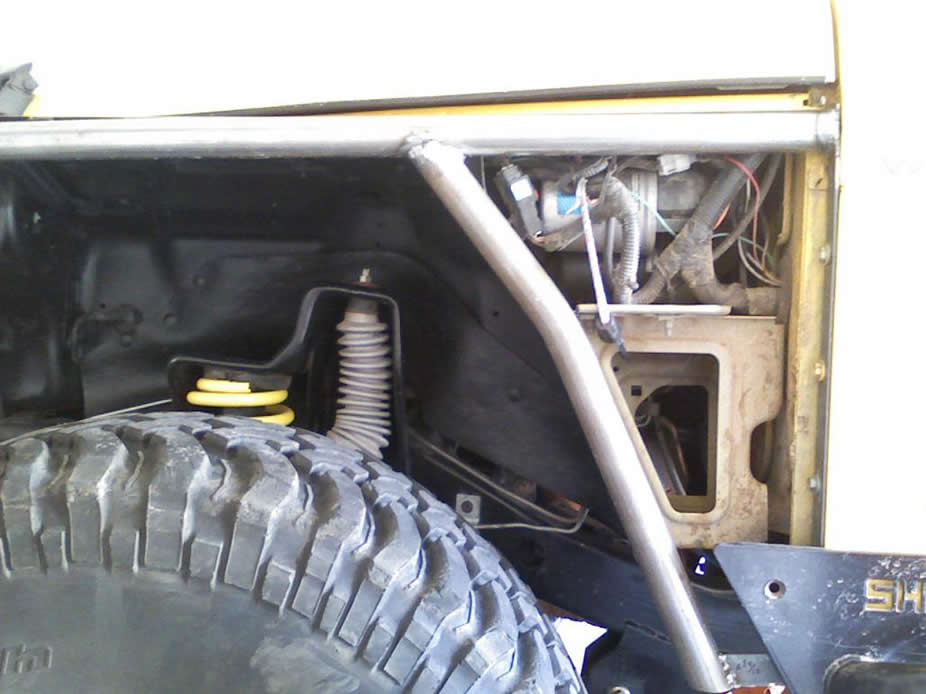
Experimenting with the added clearance of flat fenders |
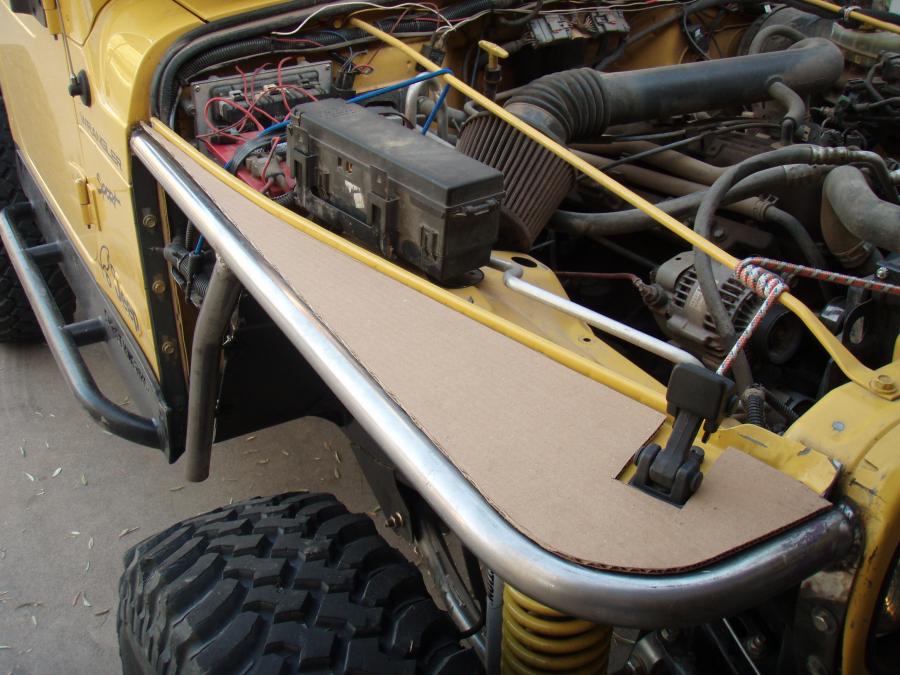
Testing out the new fender skeleton before completion |
|
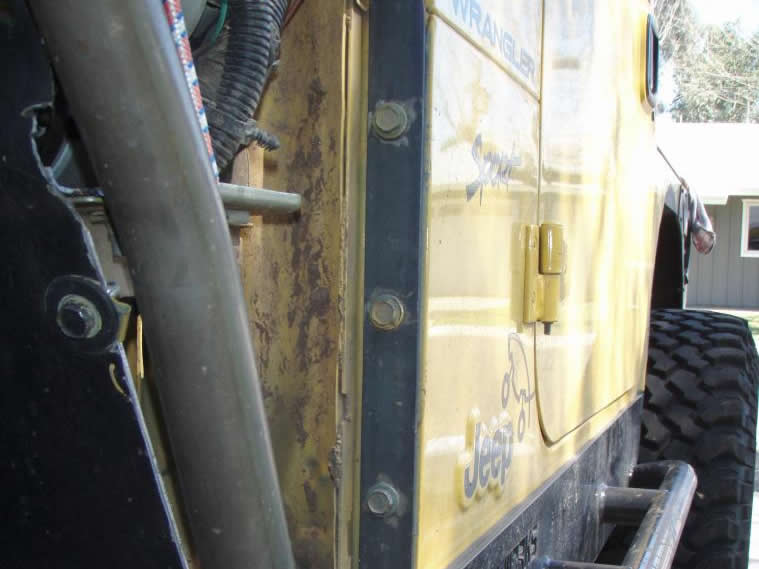
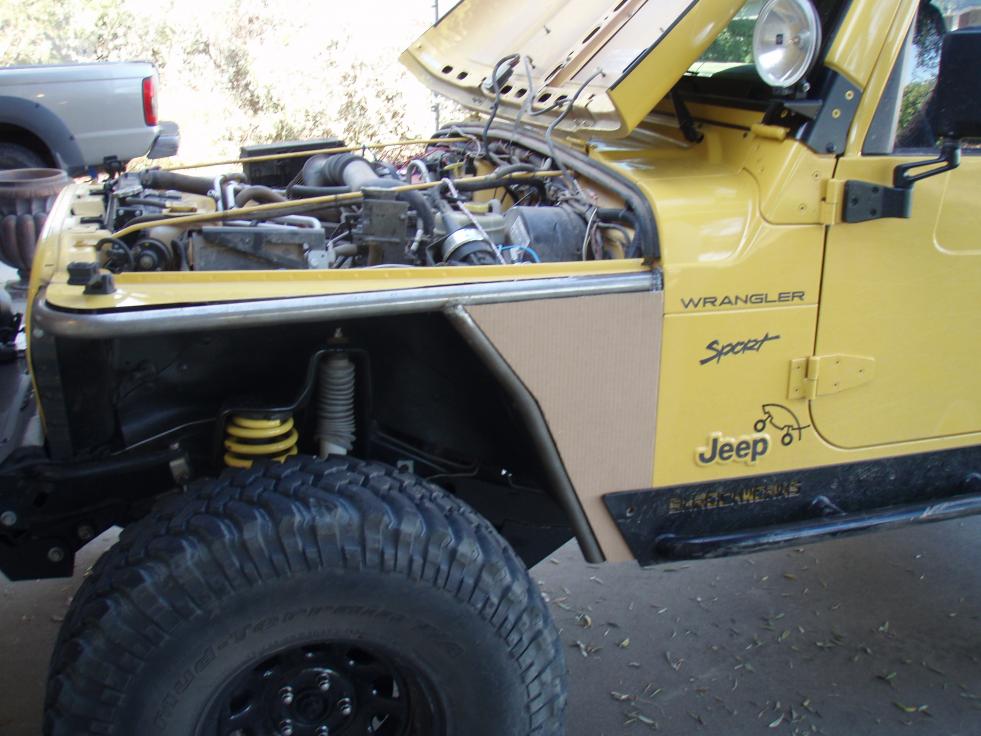
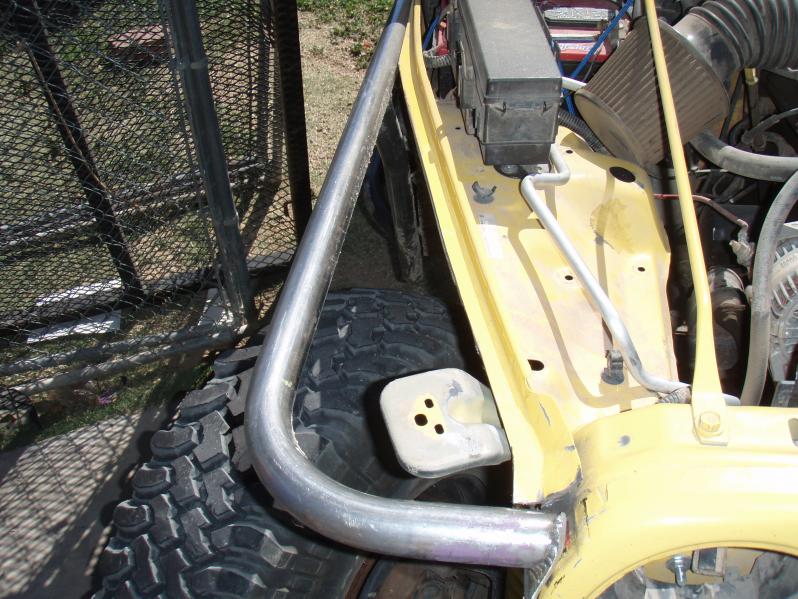
After trying out the flat fender look, it didn't take much more effort to finish removing the rest. I cut everything else out of the way except for the top of the fender so I could still latch the hood. I also wrapped some bungies around the battery tray and the passenger side tray (with ARB compressor) as a precaution so I could continue using it as my daily driver while finishing the project. I picked up the tube and a 4'X4' sheet of 11 gauge steel plate at Industrial Metal Supply in Tempe. Finding all the supplies in their remnants section saved a good bit of $. I then took it to Geoff (The Doctor) for bending, cutting, and welding Before cutting the bent tubes to size and welding them up I had to cut a steel strap to attach along the fire wall and around the headlight for the tubes to be welded to. Getting the strap to conform to the shape around the headlight was a little tricky. I used a vice to put pressure where I wanted it to bend. The key is to go slow so as not to kink the metal but get a gradual, smooth bend. Once I had the straps fitted, I drilled holes in them for the bolts and bolted them on.
|
||
|
Yes I drove around like this. Colored bungies and all |
The bolted strap along firewall (11 gauge 1 1/4") |
Strapping curved carefully around grill (11 gauge 1 1/2") |
|
|
||
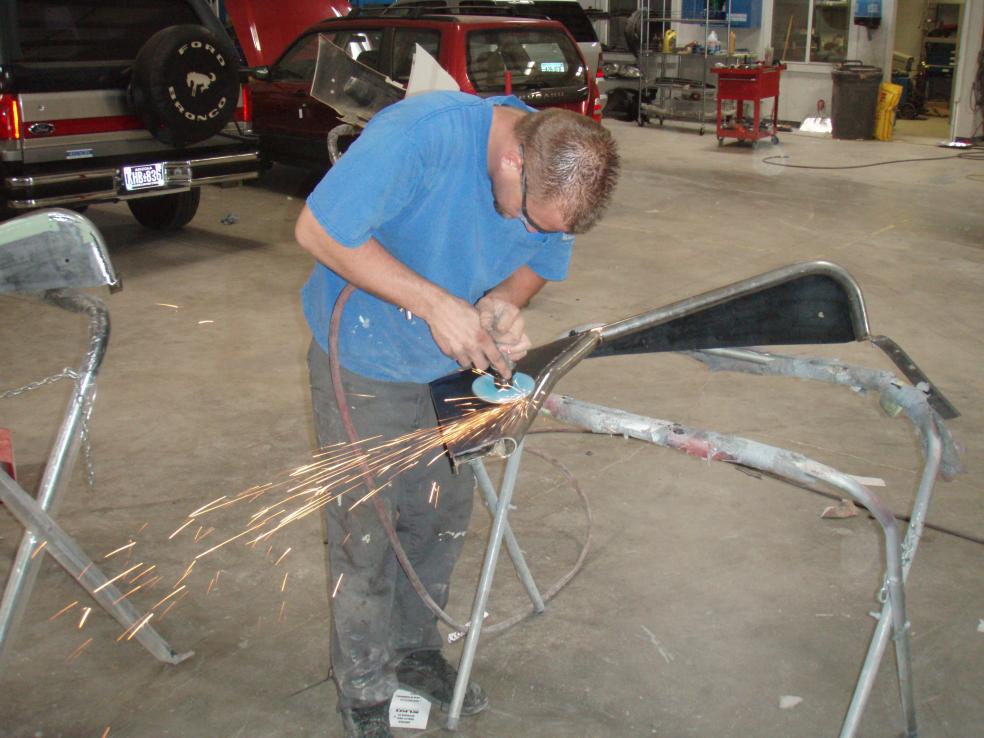
 Geoff was nice enough to help with the bends and welds |
 Fender well tube installed - 15 degree bend for aesthetics |
Just under a 90 degree bend on the top tubing |
|
The next step was to cut out the steel plate pieces from the 4'X4' sheet of steel. I made cardboard templates to make sure I cut the steel just right. I traced templates onto the steel, had them rough cut out with plasma cutter, then went to work with grinder to get the lines perfect...only went through 4 cutting wheels
|
||
 Getting the tub line just right took several adjustments |
 This place needs a comment that is long enough see |
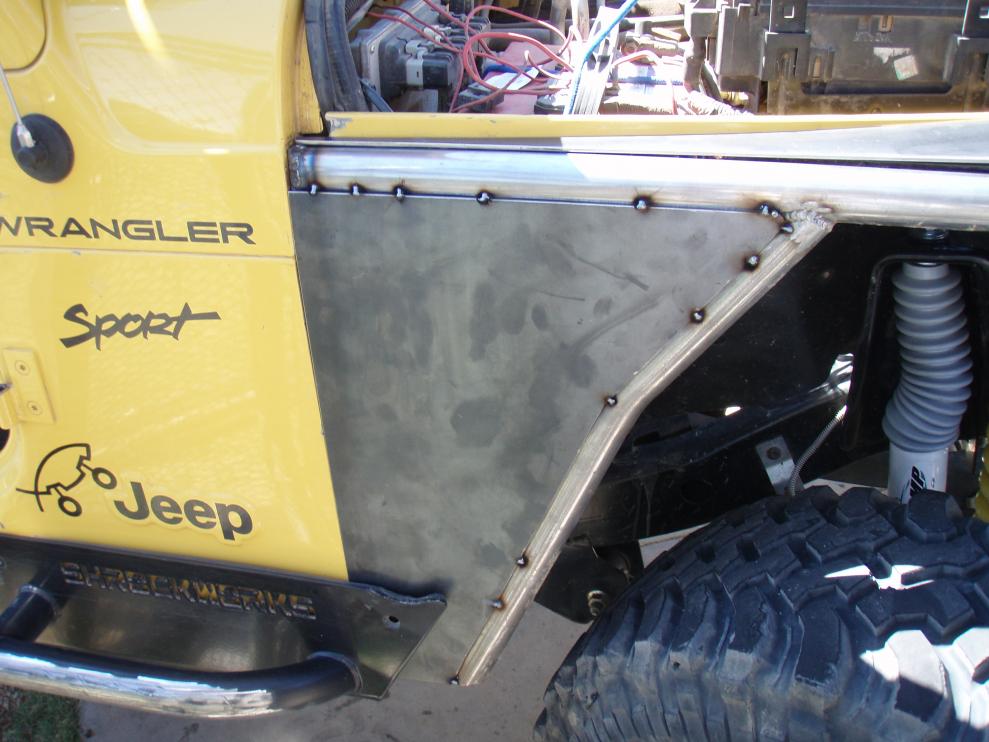
 I decided to extend my corners to the doors while I was at it |
|
Once the metal pieces were ready to go, it was back to Geoff for some more cutting and welding
|
||
 Left the latch support bracket and 3/4 lip for the hood |
 Tacked all the metal on before removing for final welds |
 Grinded down the finished welds and smoothed with bondo |
|
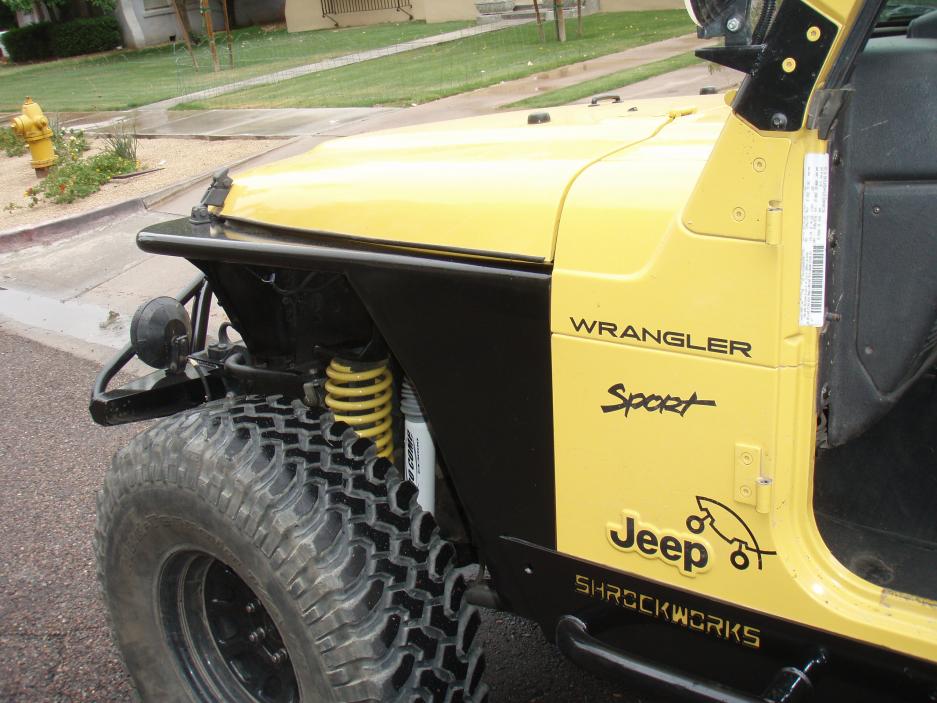
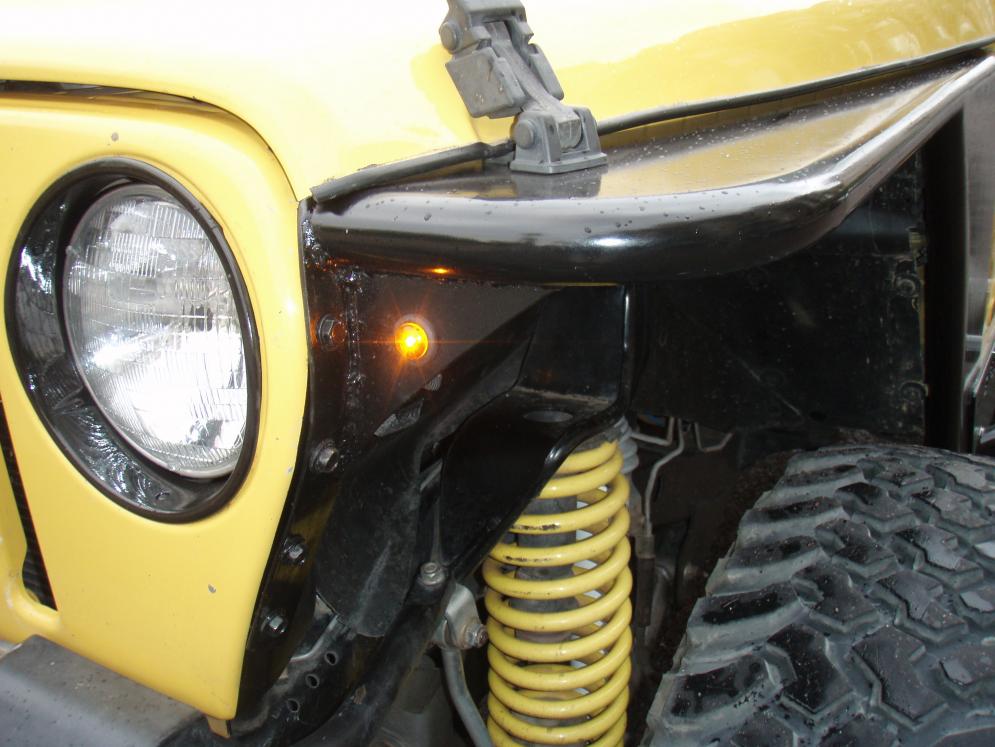
Now bondo'd and primed I took them to my shop and painted them and installed the 3/4" led directional signals
|
||
 |
 |
 |
|
For more pictures or questions, visit this topic's forum discussion |
||